
Ice bathing is the practice of immersing your body into icy waters. It sounds insane – don’t most people take HOT baths? – but it’s renowned for its invigorating and health-promoting benefits. Historically, ice bathing has Nordic roots that date back to the Viking Age. The Vikings would practice it for a host of reasons: to fortify their bodies against the harsh climate, to prove their physical endurance and mental fortitude, and to purify themselves (both literally and symbolically). Ice bathing is stilly widely practiced in Scandinavia today, as the region’s culture places a high emphasis on a connection with nature and the elements. Now the tradition has become popular worldwide as a wellness practice and a way to challenge ourselves to see how much cold water we can handle.
How to take an ice bath: Step 1
There’s preparation involved in taking an ice bath that includes finding and or/setting up your location. If you’re lucky enough to live on a lake that freezes over, then you have to cut a hole for your dip. Since I live at a summer camp, which is on a lake, we have lots of space to be able to do this – and the tools to do it as well. To expedite the ice hole cutting process, this year we used an electric auger to drill several holes in a rectangular outline. Then, my husband used a chainsaw to “connect the dots” in order to free the block of ice. Using an ice chopper, he pushed the entire block down and under the ice so that there was a completely clear space of very chilly water!
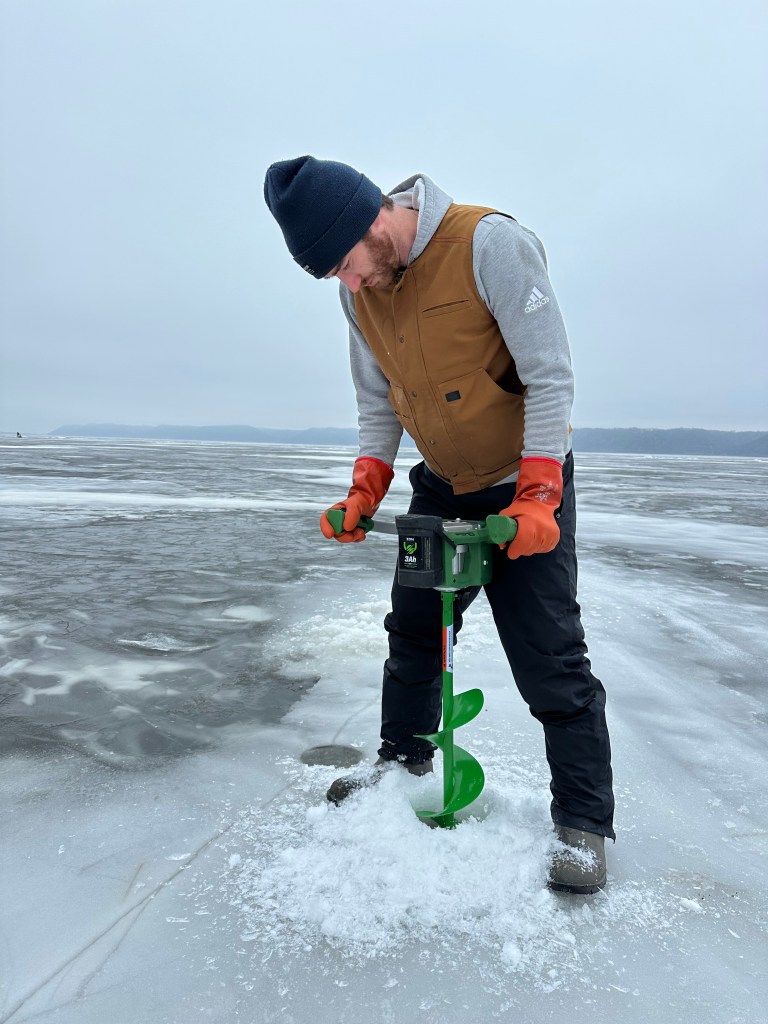
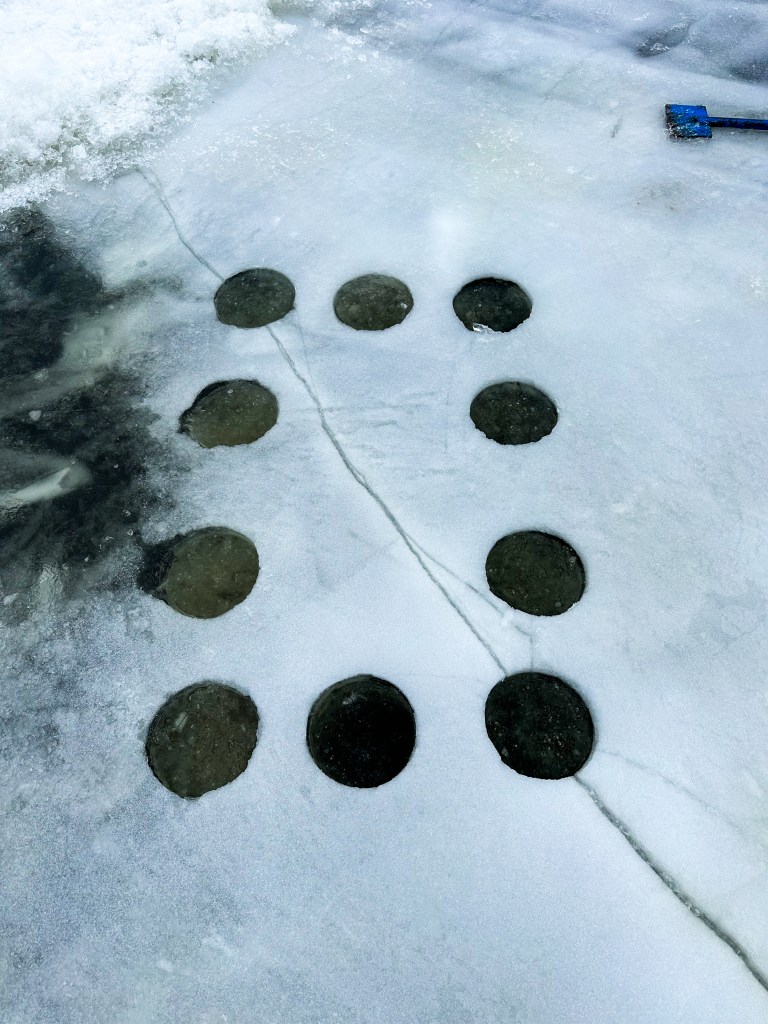
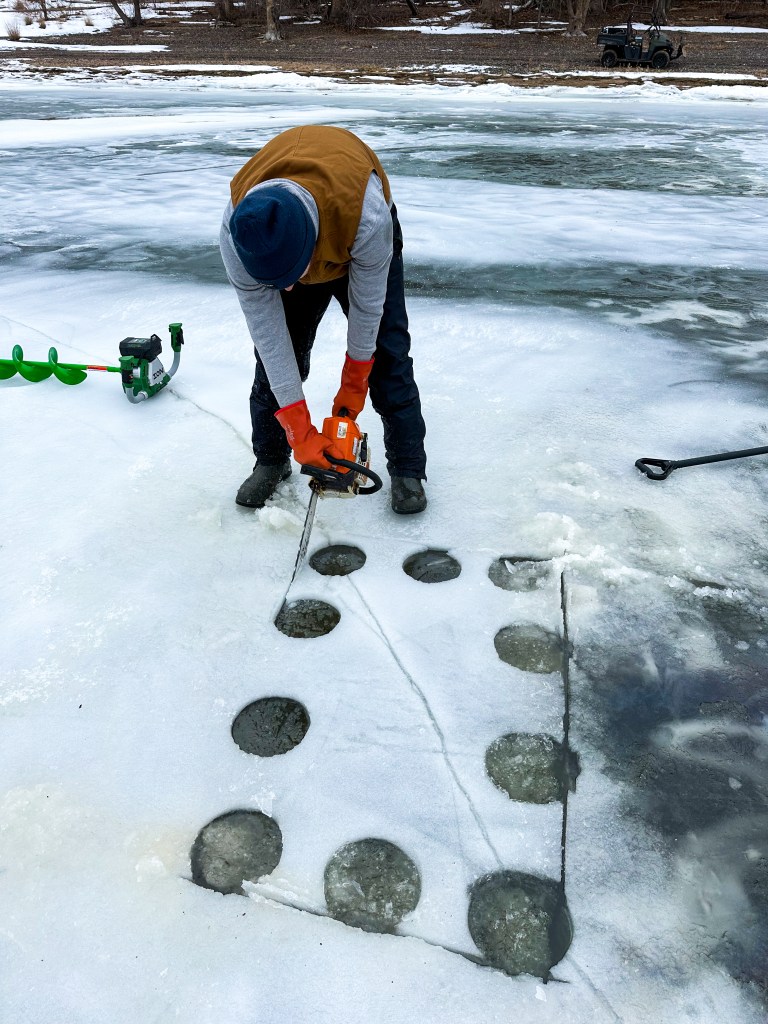

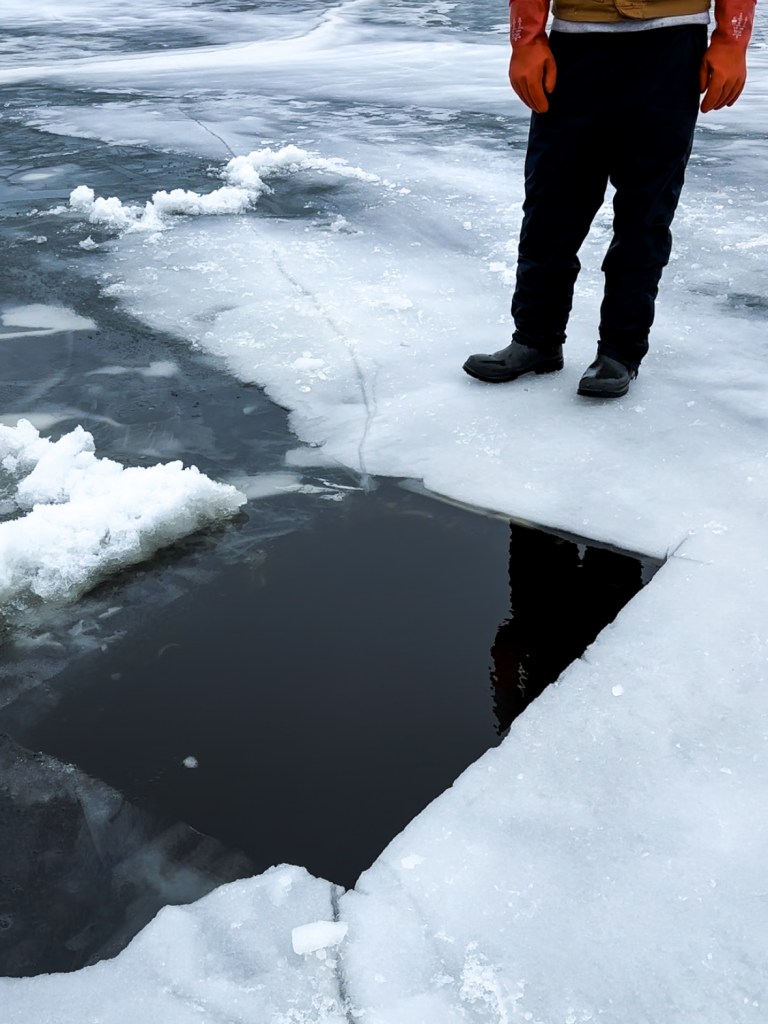
In the past we’ve only used a chainsaw, but pushing the block of ice under and away was a lot harder. This could be because the ice at the time was thicker, but we found that pre-drilling the hole outline with the ice auger made really quick work of the process. If you don’t have any mechanical tools, I’ve also seen the cutting done with an ice saw – which is more work but perhaps more authentic.
If you don’t have access to a frozen lake, there are other ways to have an invigorating ice bath experience. I’ve seen portable ice pods for sale that self-regulate the water temperature, and I’ve also seen people simply dump a bunch of ice cubes into a tub in their backyard. However you go about preparing your ice bath, I’d recommend at least doing it outside in as natural an area as possible to get the full experience.
How to take an ice bath: Step 2
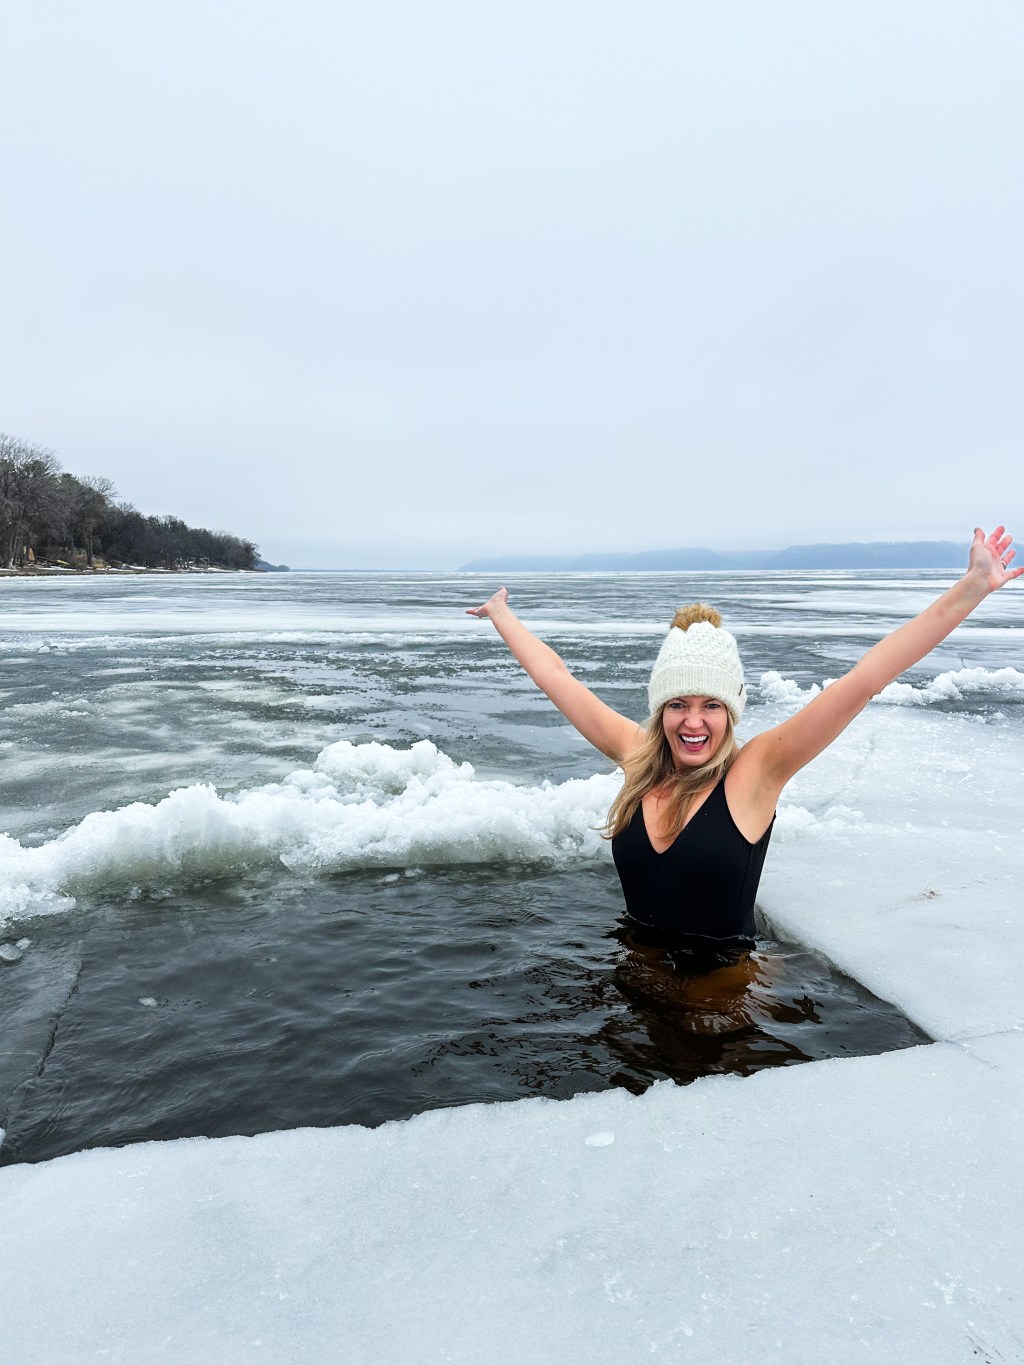
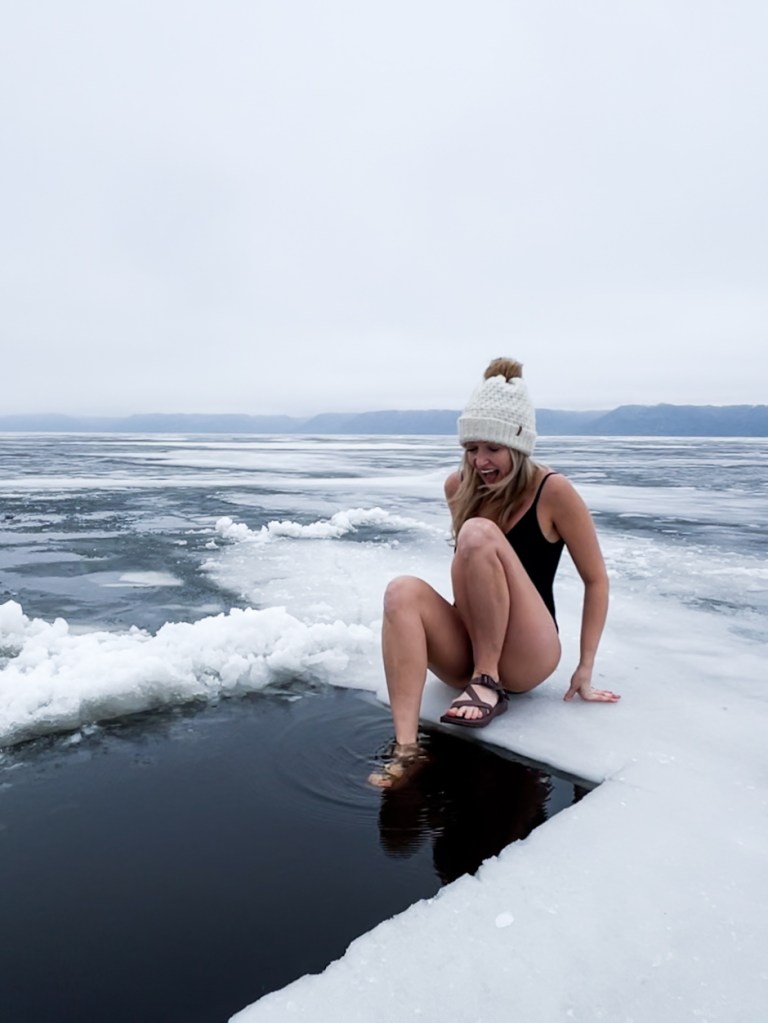
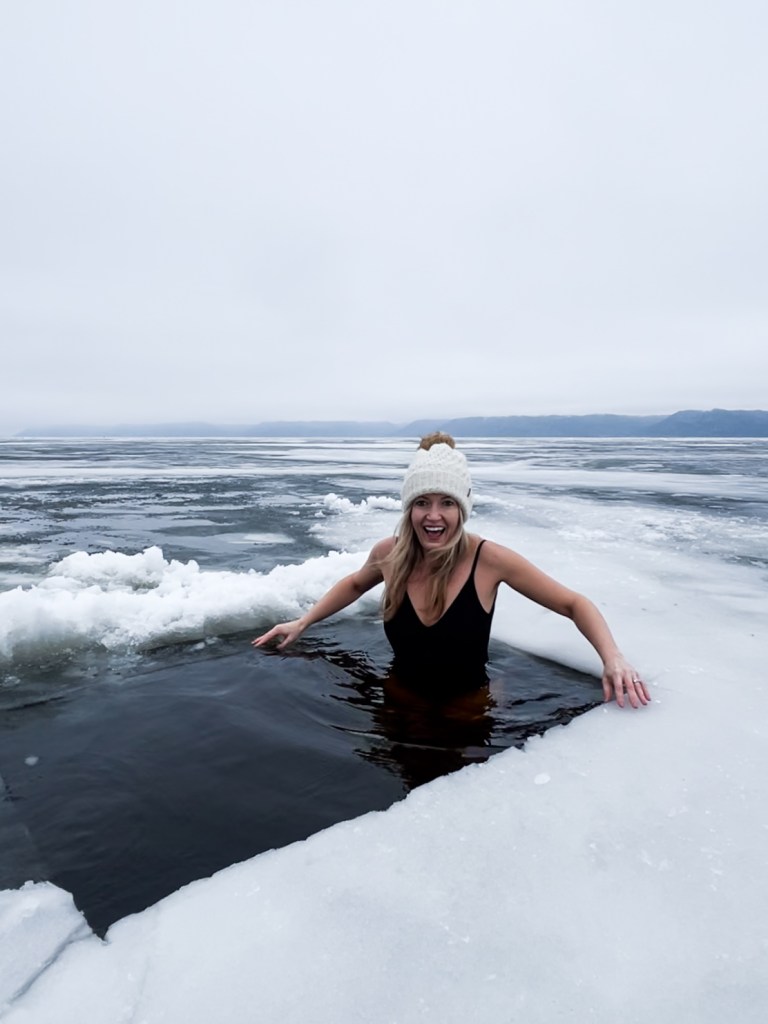
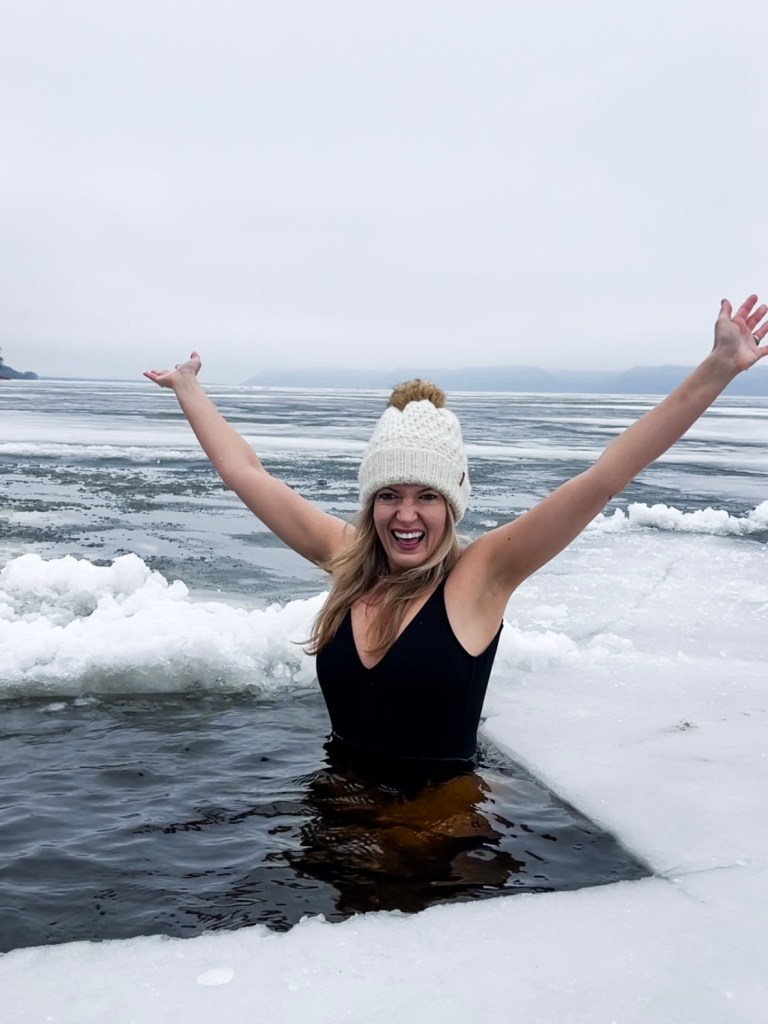
This is the part where you actually have to GET IN the icy water! Unlike tiptoeing to enter an unheated pool or a cold lake in the summer, easing yourself in really slowly to the ice bath might not be the best move. This is because there’s really no acclimation involved – it’s going to be just as cold whether you lower your leg in first to test the waters versus just committing to jumping in. Plus, personally, I know I would chicken out if I didn’t just go for it. What I did was sit down at the edge of the hole, and in one motion lower myself down. We didn’t have a ladder, but I’ve done an ice bath in the past where that’s a handy thing to be able to hold onto as you’re plunging (and also helpful in getting out!). It’s important to control your breathing while in the ice bath with slow and steady breaths (for super enthusiasts, the Wim Hof method would be an interesting thing to learn). Try to stay in the water for as long as you can stand it, but don’t push yourself because this is really just for fun. I only stay in for around 30 seconds, though I’d like to work up to being able to immerse myself for longer. Getting out is arguably the worst part of the whole ordeal and I’d HIGHLY recommend having a towel or two at the ready (for some reason I left mine aways away from the hole and had to sit on the bare ice until my husband brought it over to me). I was VERY cold and shivery for less than a minute, but as my body warmed up I could already start to feel the invigorating effects of the ice bath.
A popular practice is to combine an ice bath with a sauna, but since I haven’t been successful in convincing my husband to build me one yet, warming up next to a fire or with a hot shower afterward feels amazing. After having completed a few ice baths, it’s easy to see how this Viking ritual has evolved into a wellness trend that helps revitalize the mind and body.
Beginner ice bath tips
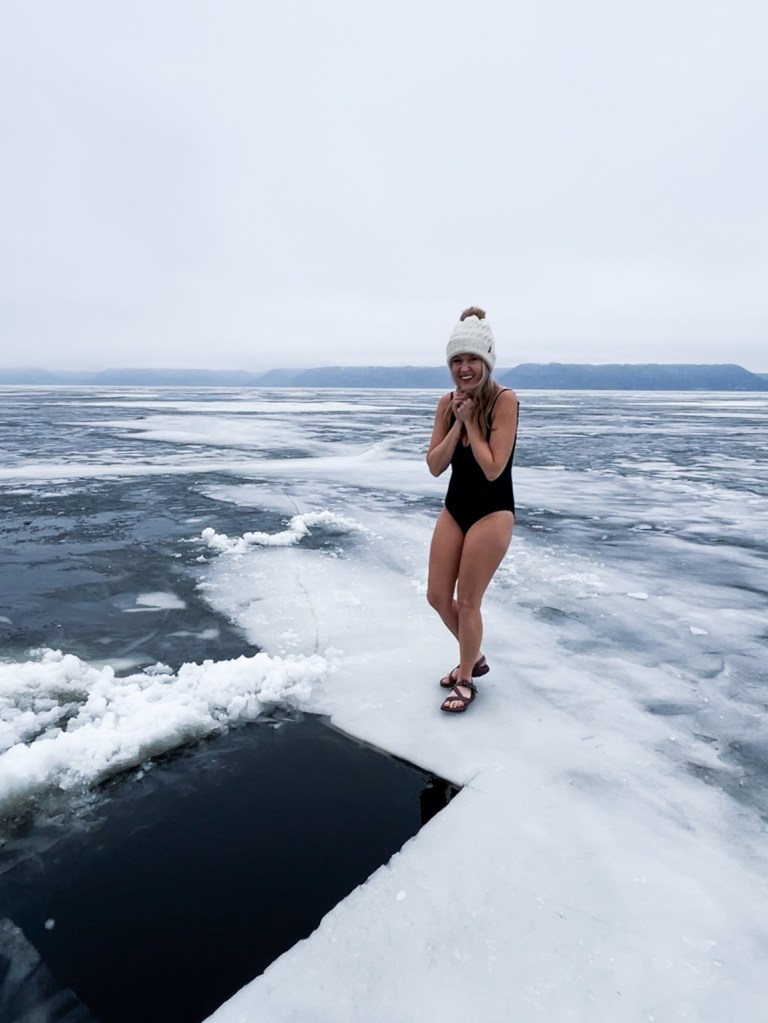
What to wear: I wear waterproof sandals to prevent my feet from sticking to the ice either before or after, and I like to wear one-piece swimsuits because for some reason that little extra fabric over my stomach makes me feel that little bit warmer. I have wool socks, sweatpants, and a sweatshirt at the ready for when I’m done and know that they’ll get a little bit damp from my suit.
When to do your ice bath: I’ve personally only done an ice bath when the temperature was either mild (you know, above freezing for us Midwesterners) or when there has been a sauna to jump into immediately afterward. I don’t know how it would feel to dip into freezing waters and also have to endure subzero air temperatures.


Leave a comment