
This past fall and winter, my husband Erik and I (well, he did most of the work…) built a bushcraft-style cabin in the backwoods using only recycled and repurposed materials. The idea originated from a desire to do something with a bunch of pallets and an old cedar fence that we had sitting around, and the cabin plan evolved from there. I had no idea when Erik started nailing pallets together what he was ultimately going to construct, but it became a really fun hobby project to work on in the evenings and weekends during a slower time of the year.
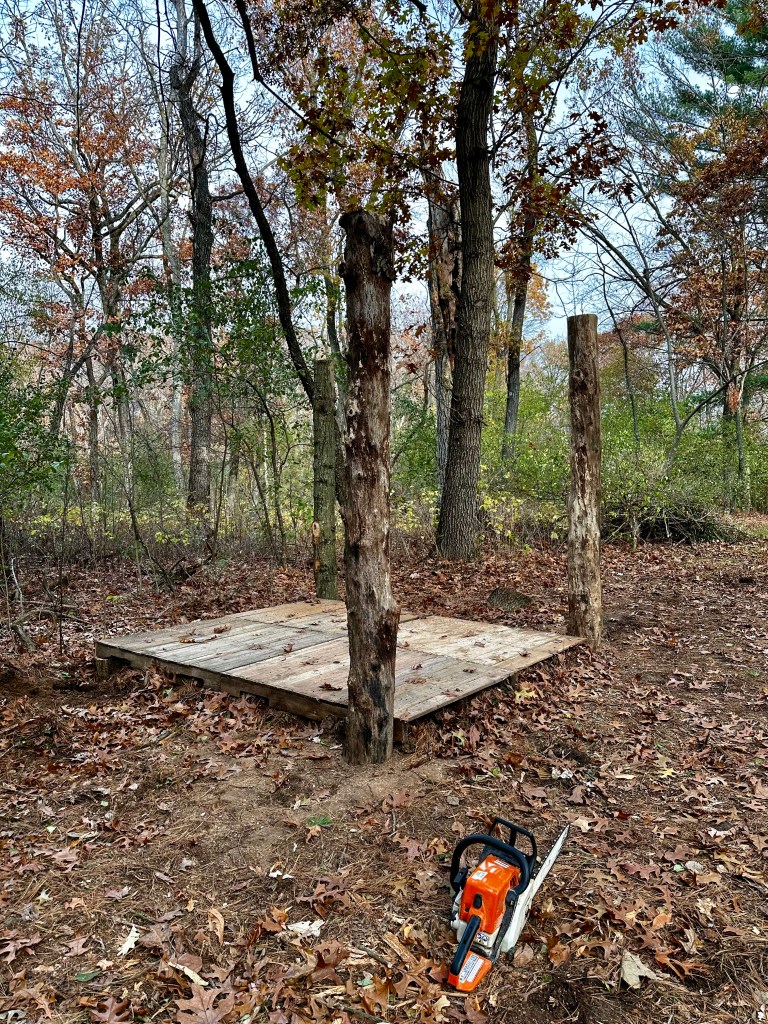
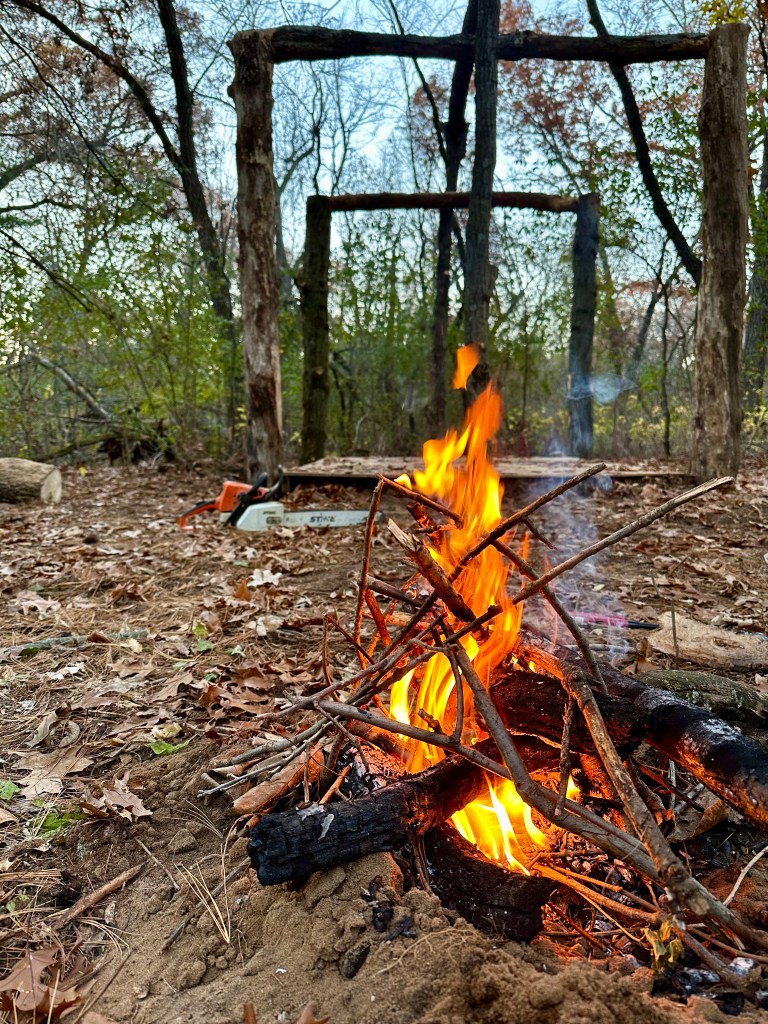
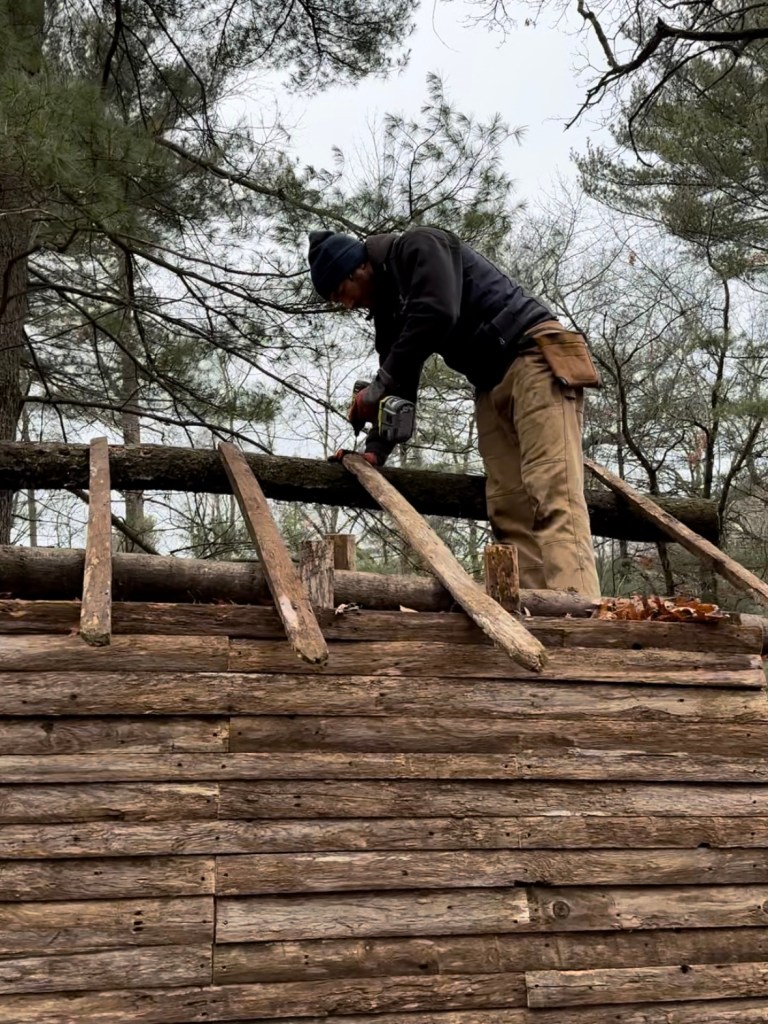
First, Erik attached (nailed, screwed – my descriptions will be very generic!) four pallets together to make the floor. Then, we scouted out the best spot in the backwoods to build the cabin, and raked to level the ground and pulled up vines so that the area was clear. After positioning the flooring, we stuffed the underside of the pallets with leaves, dirt, and branches/sticks so it was sturdy and flat. Erik cut four straight logs of about the same width, and then used a post hole digger to make deep holes next to the corners of the floor. He hoisted the logs down and into the holes and we packed around them with dirt to make sure they were stable. Two more logs with Y shapes were positioned at the front and back center of the flooring, and Erik lifted the roof ridge log to sit between the two tree forks. He then placed an additional four logs horizontally across on top of the corner supports, and the outline of the tiny cabin was complete!


The structure is comprised of two walls – an interior wall and an exterior wall. Both walls were built using sections and individual posts from camp’s old cedar fence that had recently been replaced. Erik framed the interior by affixing the fence sections to all 6 supporting logs with nails and to the floor using corner braces.
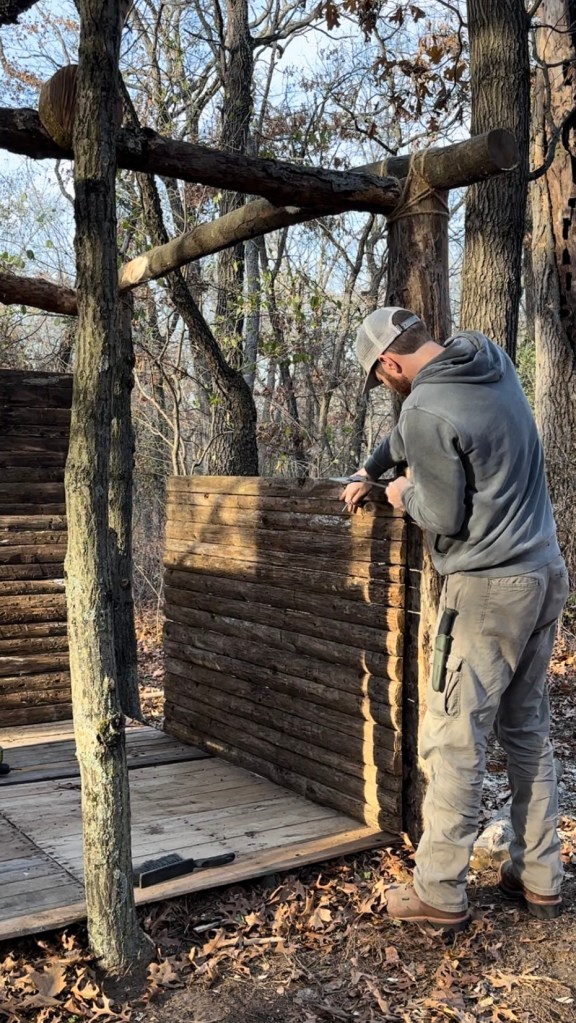
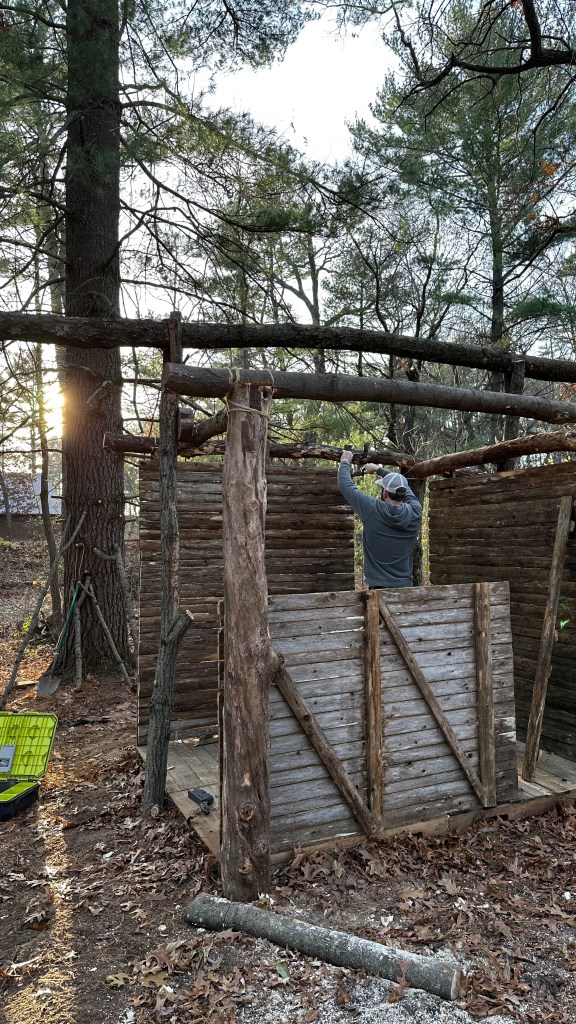
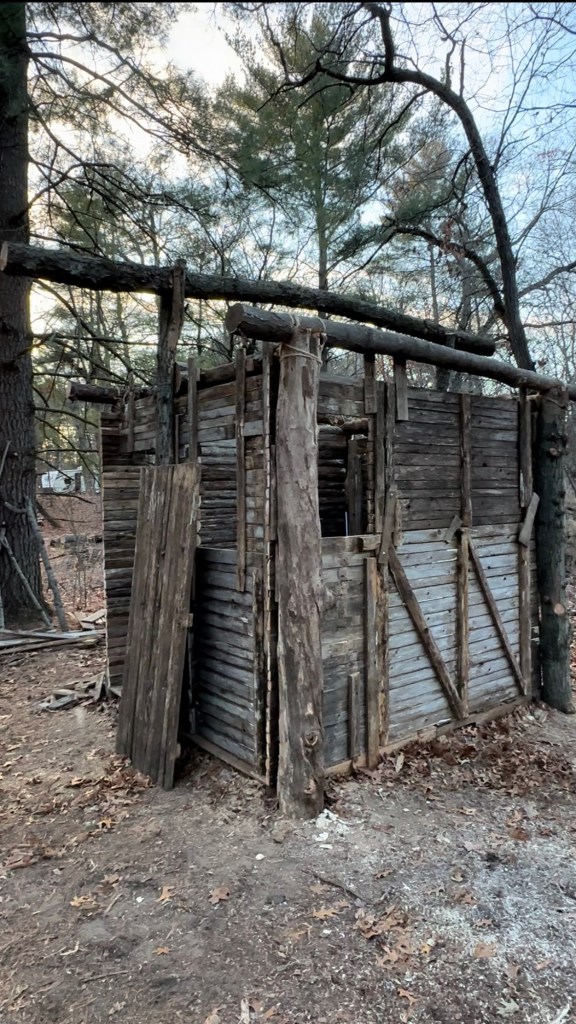
He then built half of an exterior wall around all four sides – and we stuffed the space in between the two walls with leaves for insulation. After finishing the remaining upper wall halves, we stuffed the insulation all the way to the top of the ceiling. In the meantime, Erik had also been cutting three windows in the fence sections, and leaving open space for the door.

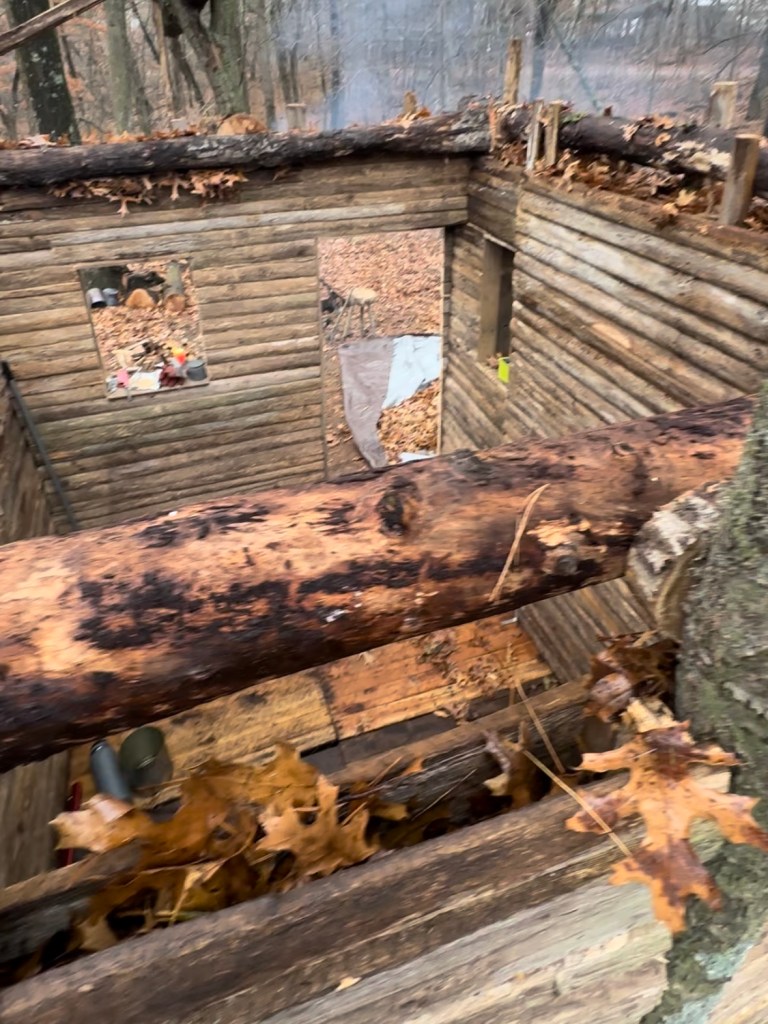
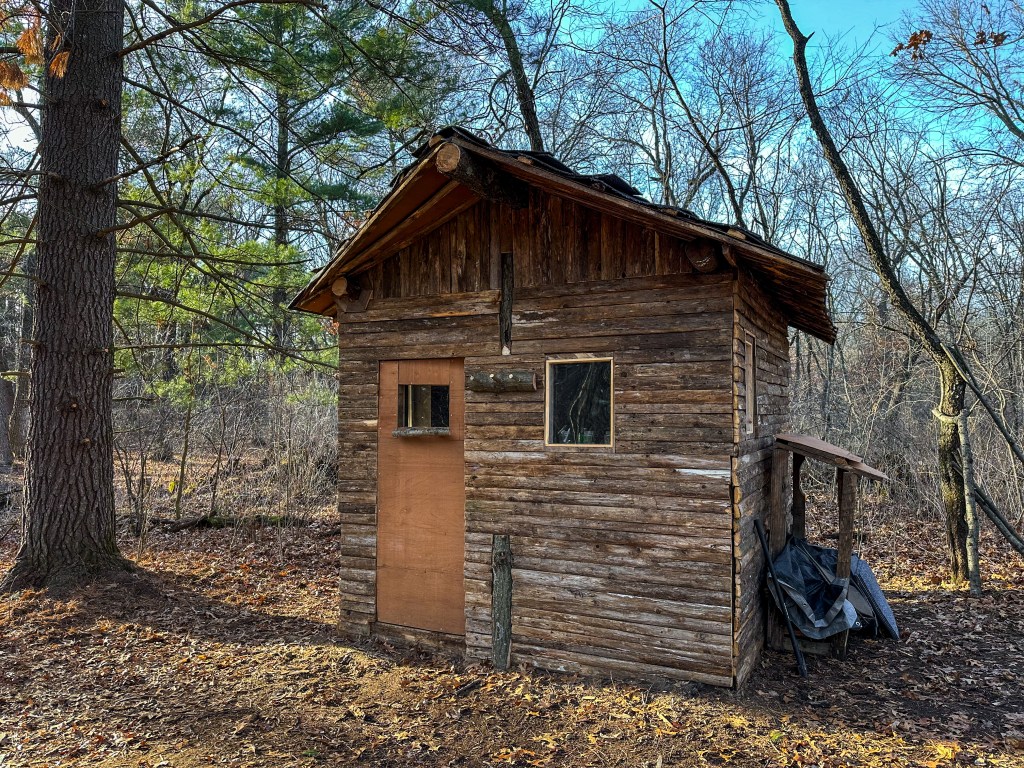
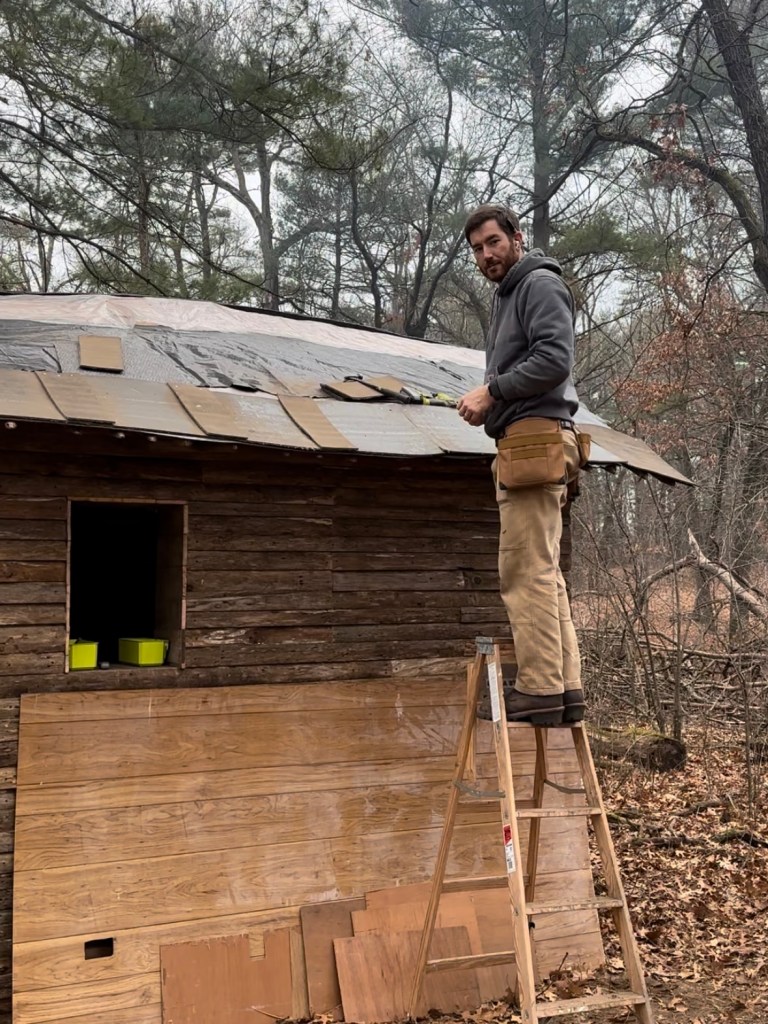
Next up was the roof, and Erik used more of the old fence posts for the rafters. Last spring, we had renovated one of the cabins at camp that used to have old 70s-style wood paneling – which Erik repurposed as roof sheathing! On top of that he placed old tarp pieces, and for the shingles he used the squares of carpet that had also been taken out of the camp cabins. Turned upside down with the rubber backing facing outward, the carpet square roof shingles are really water resistant.
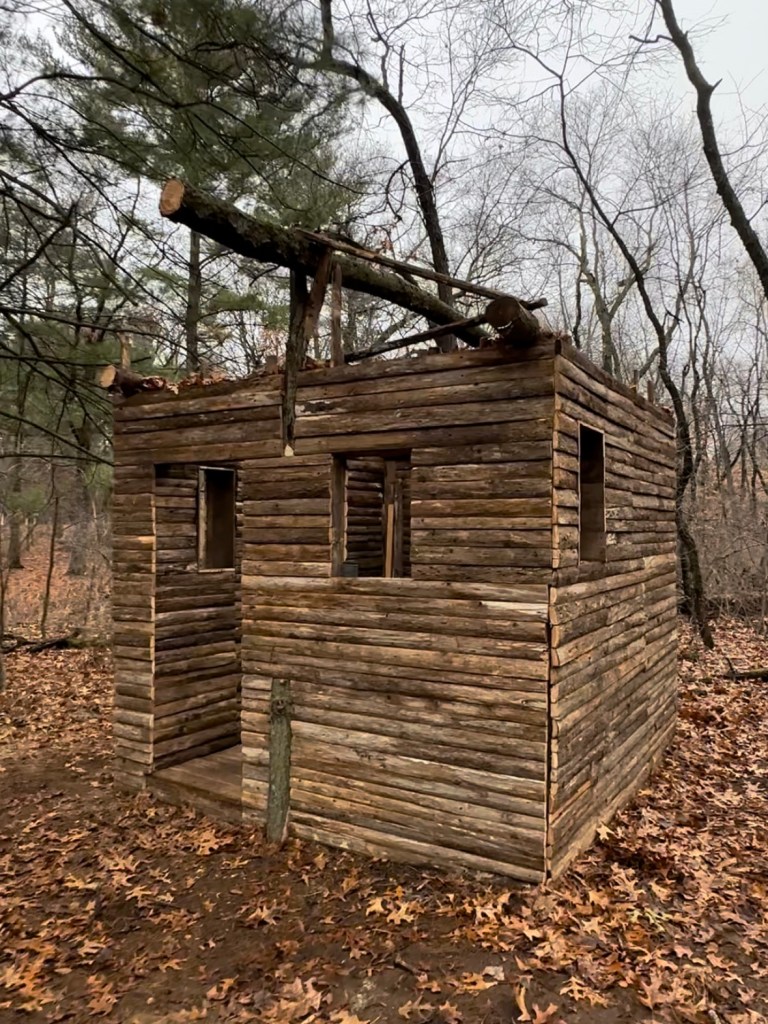
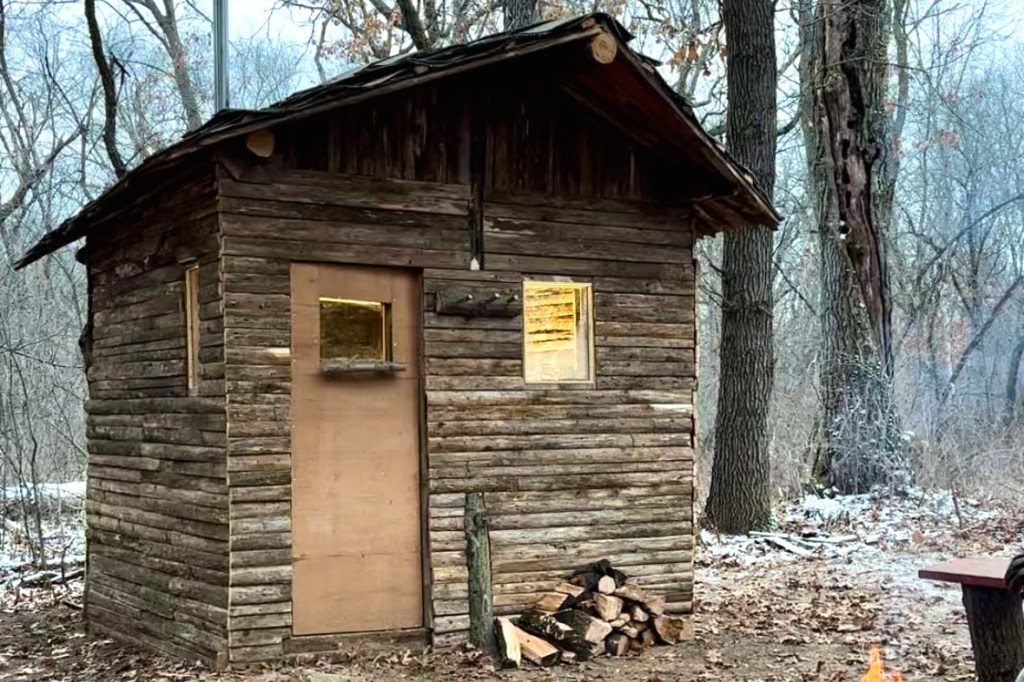
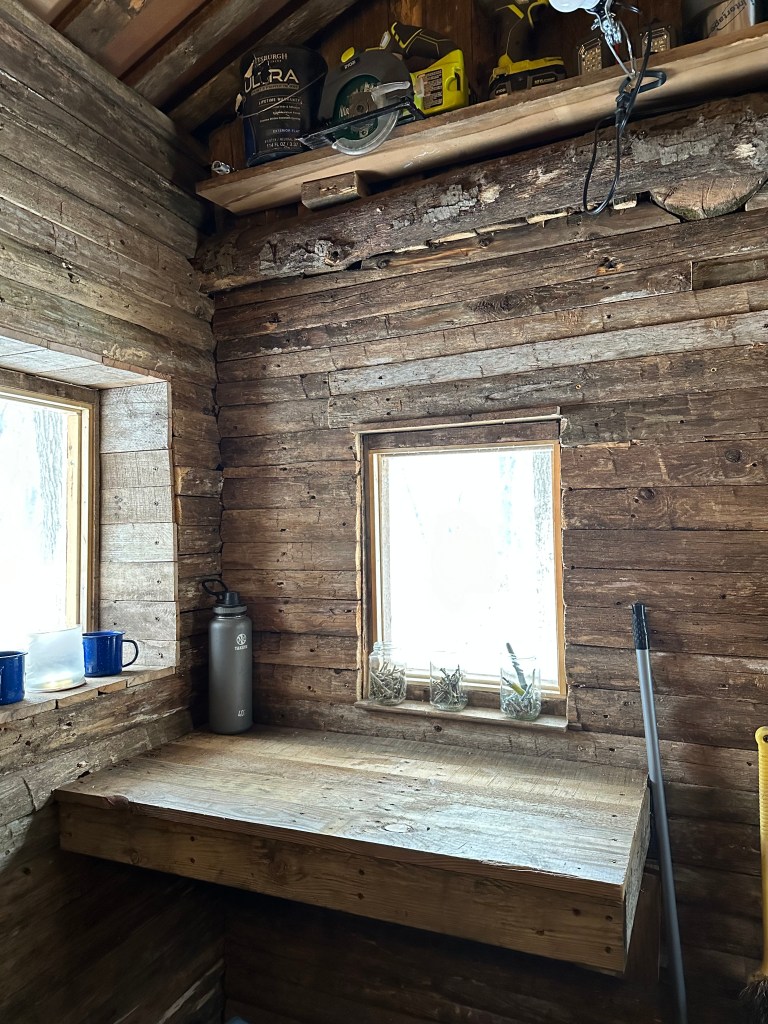
Erik then finished up the window boxes and made a door. Old plastic pieces were used for the double pane windows, and the outside of the cabin was finished.
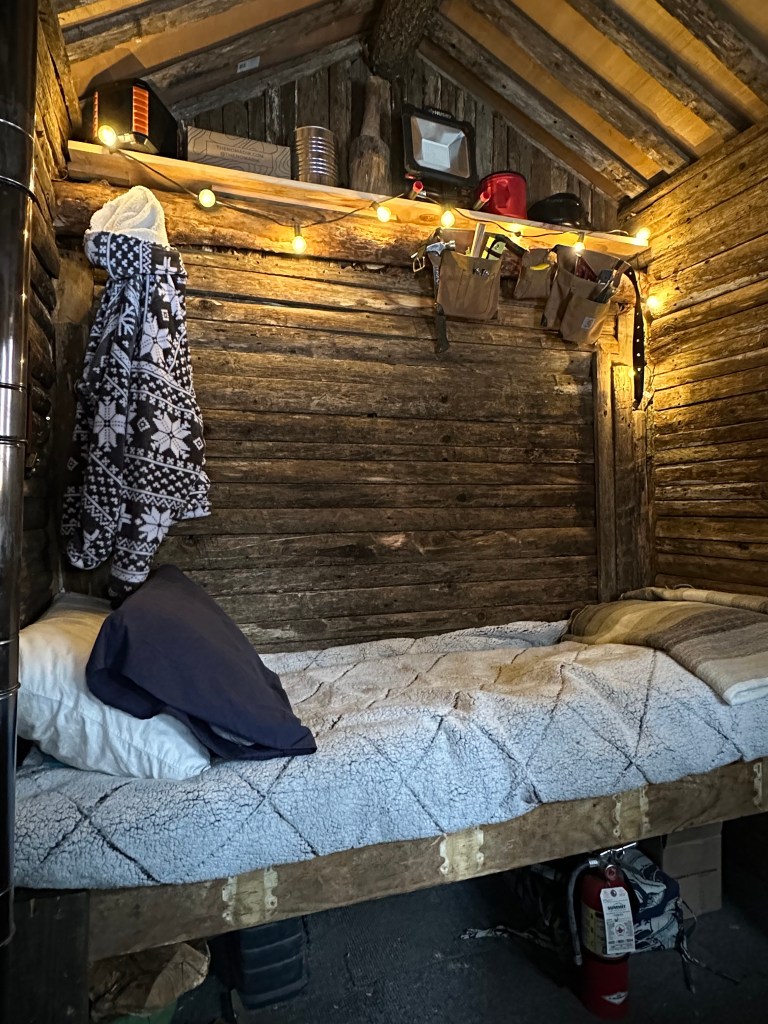
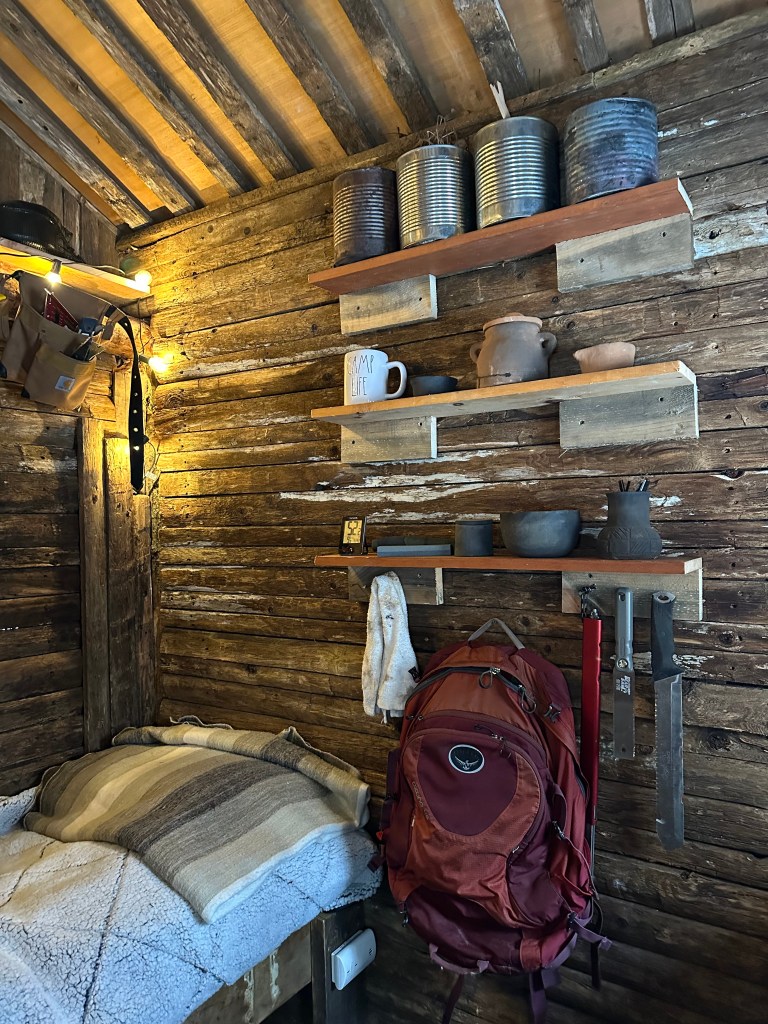
Inside, Erik constructed a bed frame from various pieces of extra wood we had around camp; the bed spans the entire back wall of the cabin. He also made a built-in table and lots of shelves for storage space. The only thing in the cabin that was purchased is the wood stove that’s a pretty necessary feature for keeping the cabin warm and cozy! Erik slept overnight in the cabin once last December, and based on his experience, is going to do a little more insulating to ensure comfort in future stays.
We’ve been asked what we’re going to now do with the cabin, but its purpose was, and is, a fun hobby project. Erik enjoyed working on it during a slower season and figuring out solutions to construction challenges as he went. The warm winter that we had was very conducive for being able to work in the evenings, and our neighbors would stop by to watch its progress. Erik does have plans to expand – such as building a small front porch and an outdoor cooking area – and it will be exciting to see to see what happens next!


Leave a comment