

Tie dye is the quintessential camp craft (along with friendship bracelets, of course), and I’ve had years to hone my technique through being a camper, counselor, and now living at a summer camp! I’m always impressed by the kids and counselors who have a vision for a unique design and are able execute it really well; it’s not something that’s super easy to do. Below I’ll highlight two different methods – folding style and dying techniques – that you can use to tie-dye at home or keep in mind for your next camping adventure.
Supplies needed:
- Soda ash
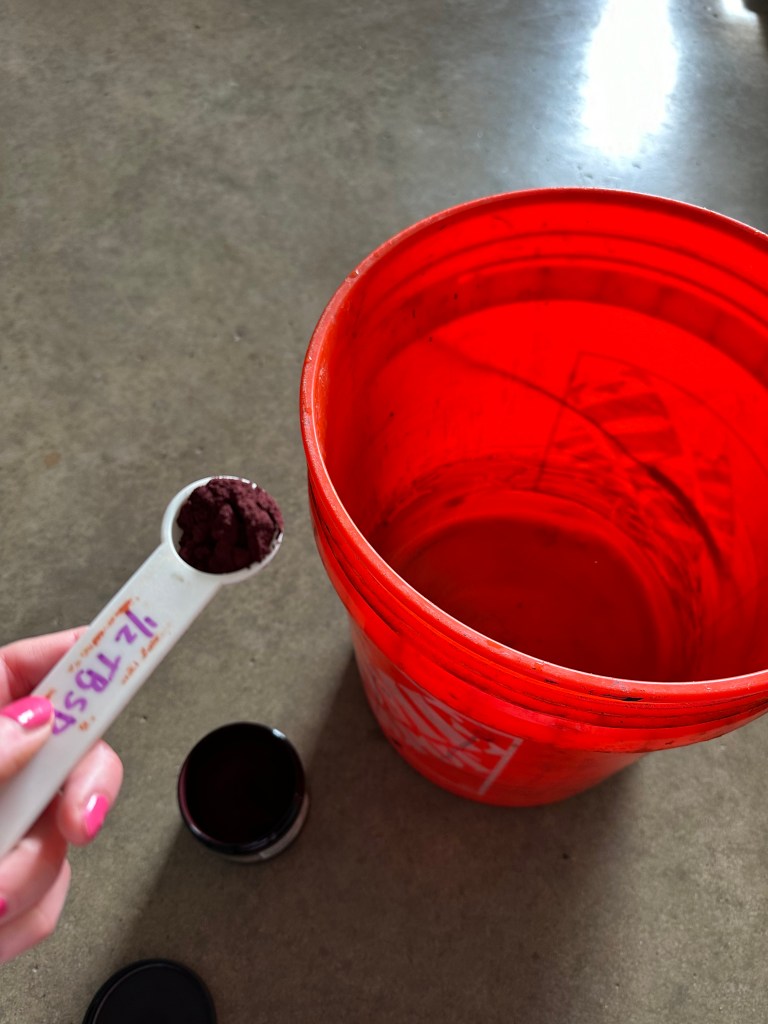
- Powder dye
- Measuring instruments
- Buckets
- Squeeze bottle
- Rubber bands
- GLOVES! Please use gloves!
- A white cotton shirt/bandana/pillowcase/etc
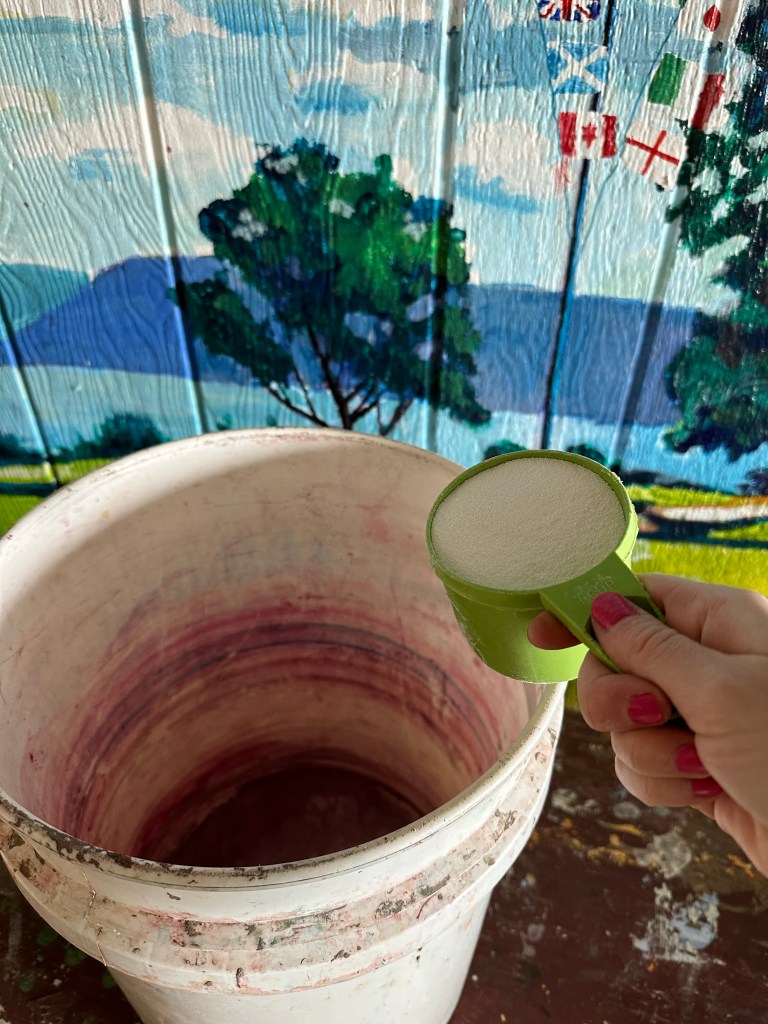
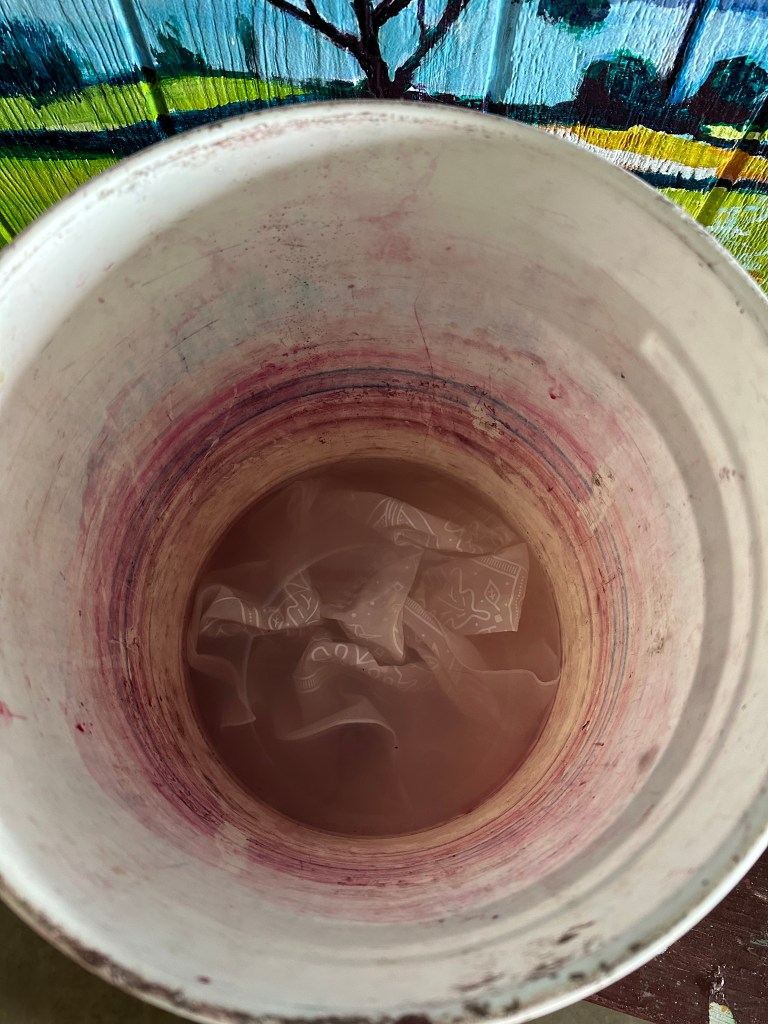
First: Soda ash bath
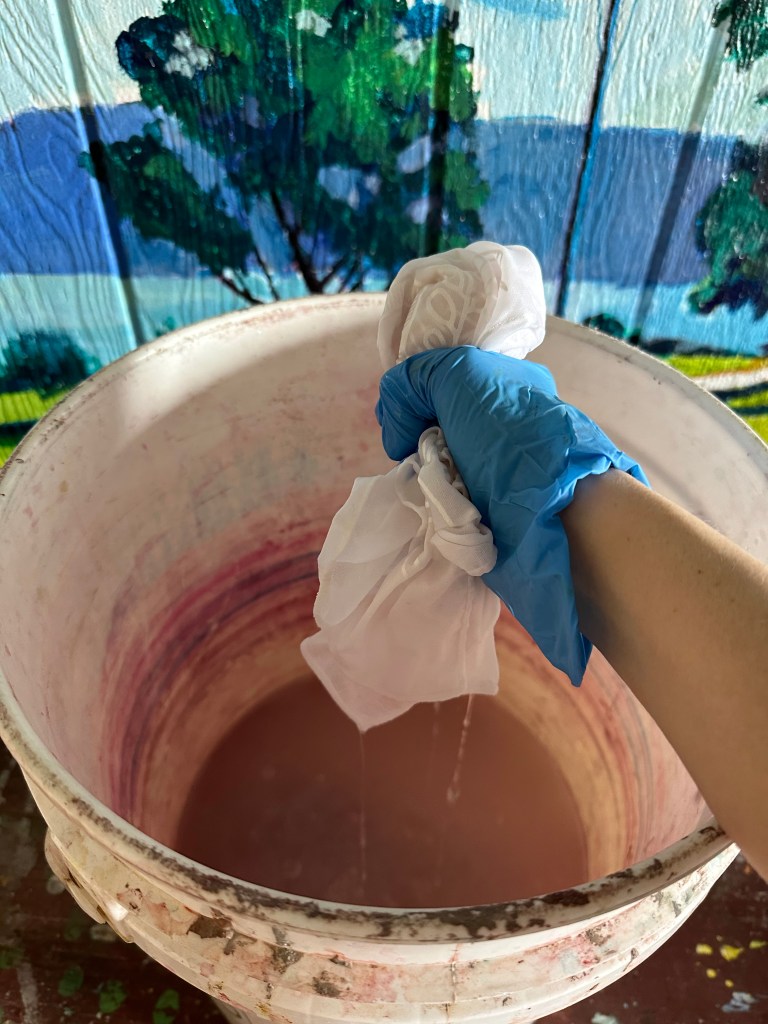
Before dying, it’s important to soak your tie dye item in soda ash – this makes the dye bind better to the fabric and not fade as much after washing and drying. I mixed one cup of soda ash per gallon of water, but always follow the directions of your particular product. I left my items to soak in the soda ash bath for 20 minutes, then I wrang them out. Important: Do this before folding/applying the rubber bands to your item!
Folding techniques
Lay your tie dye item flat out on the floor, table, or any flat surface. Get your rubber bands ready!

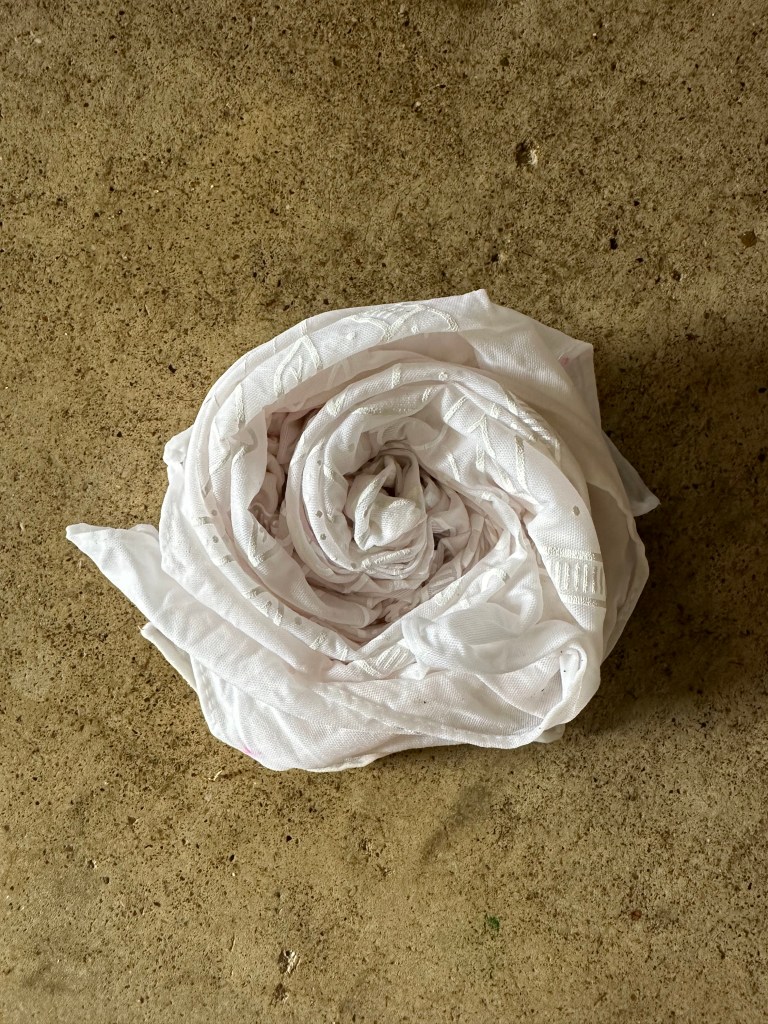
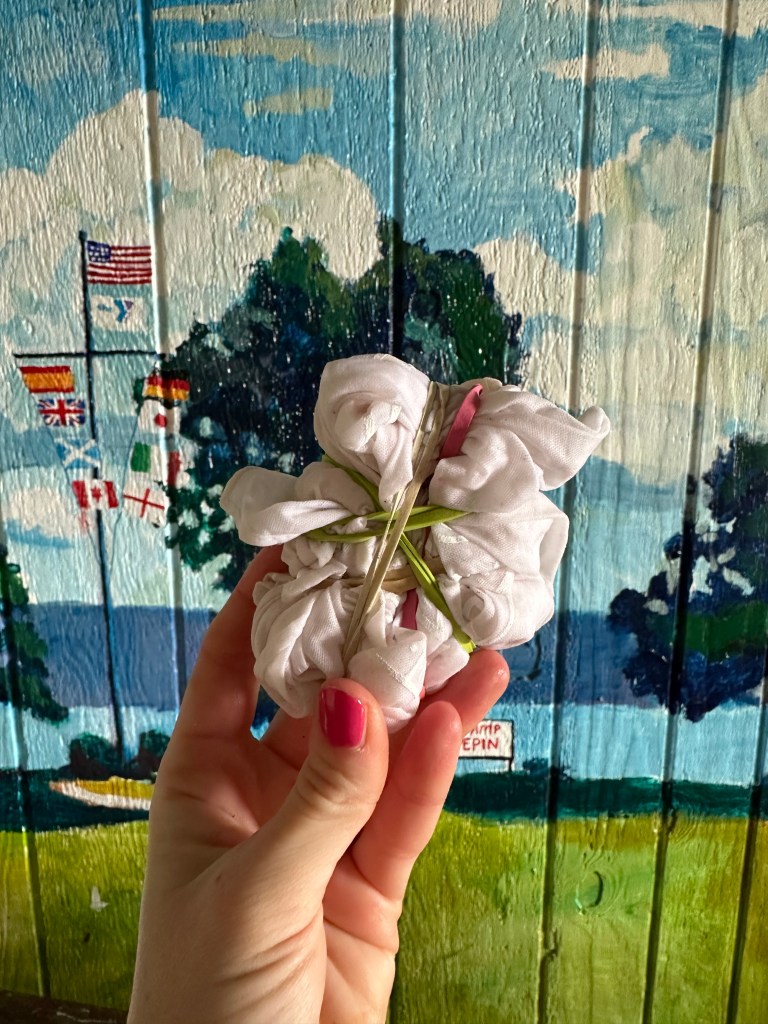
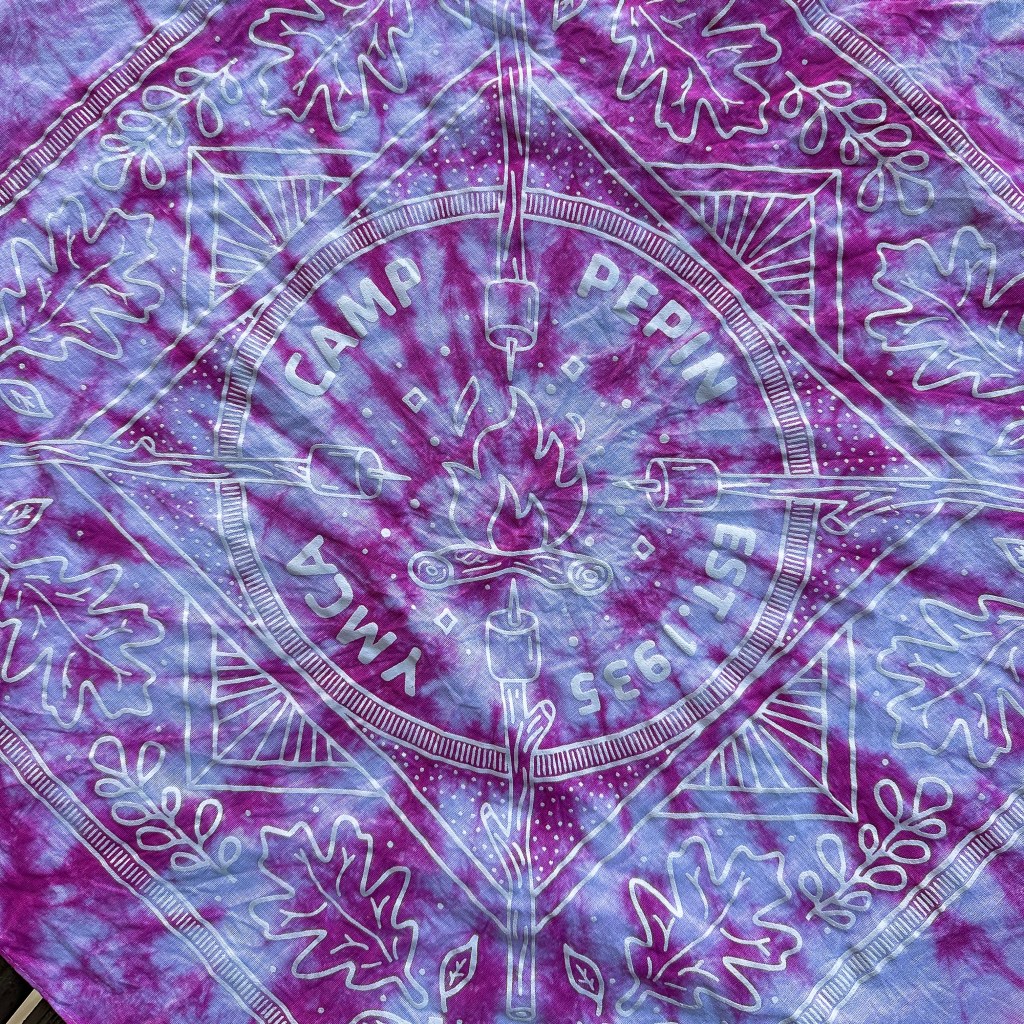
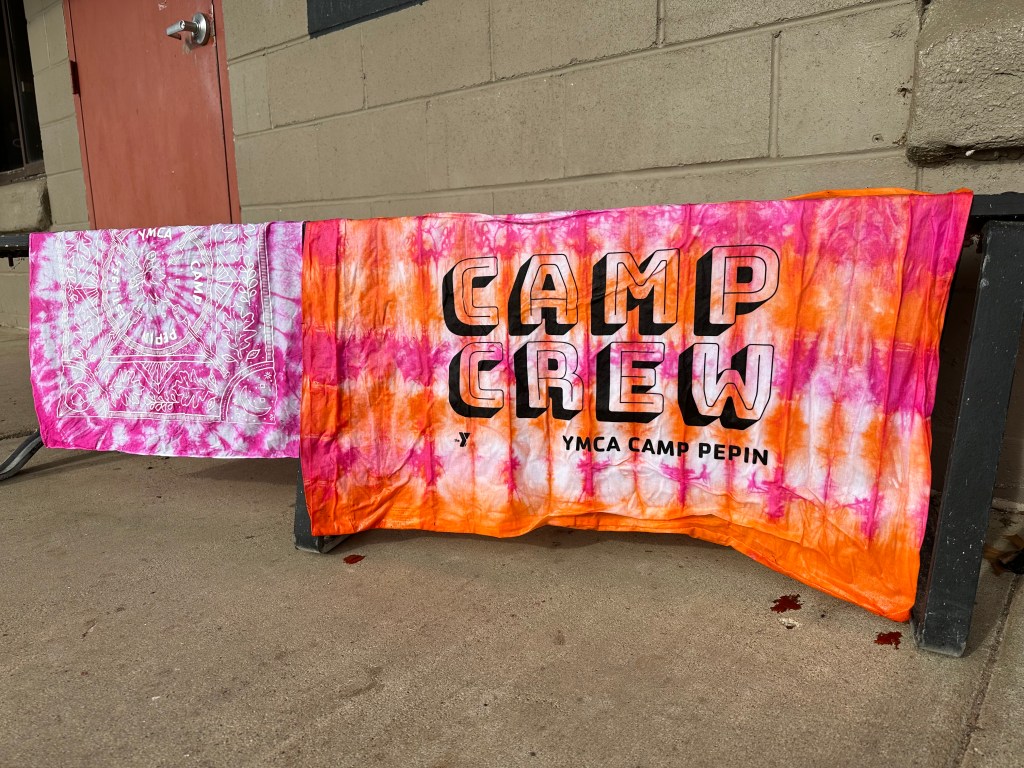
For the swirl design, you’ll pinch the very center of your bandana (shirt, etc) and twist your wrist while still holding the bit of material in the middle. Keep twisting in a circular motion until the entire bandana has been swirled. Then take a rubber band and wrap it around the entire bandana; keep adding rubber bands to make it look kind-of like a cut pie. The more rubber bands you add, the more white you will have on your finished product.
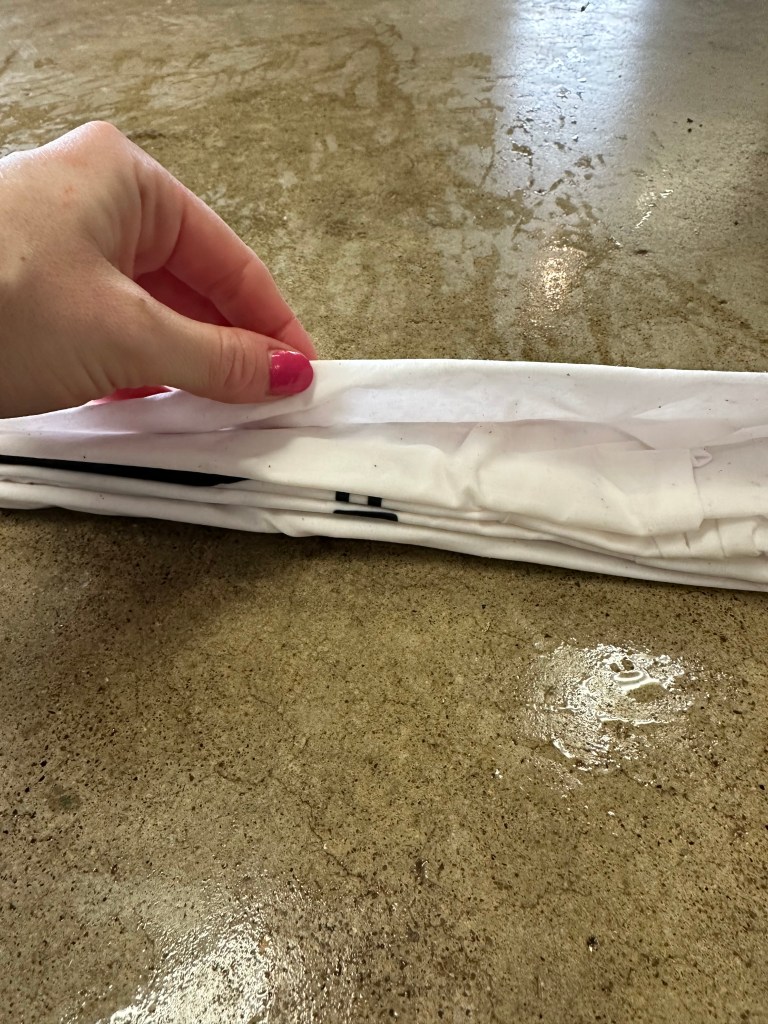
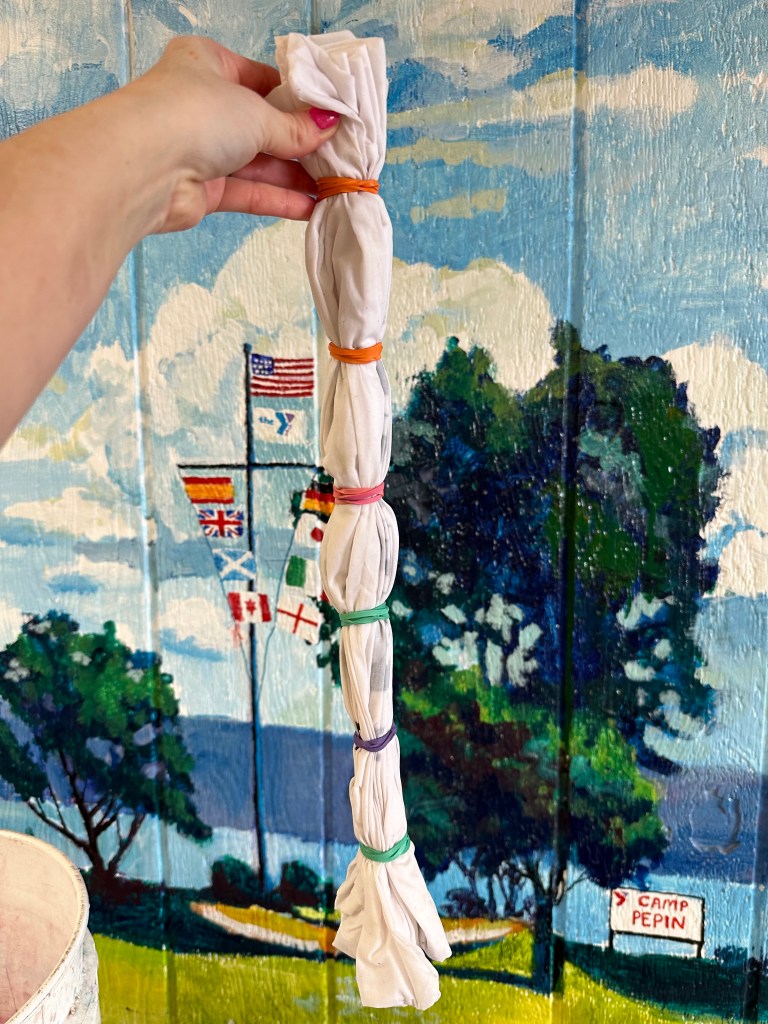
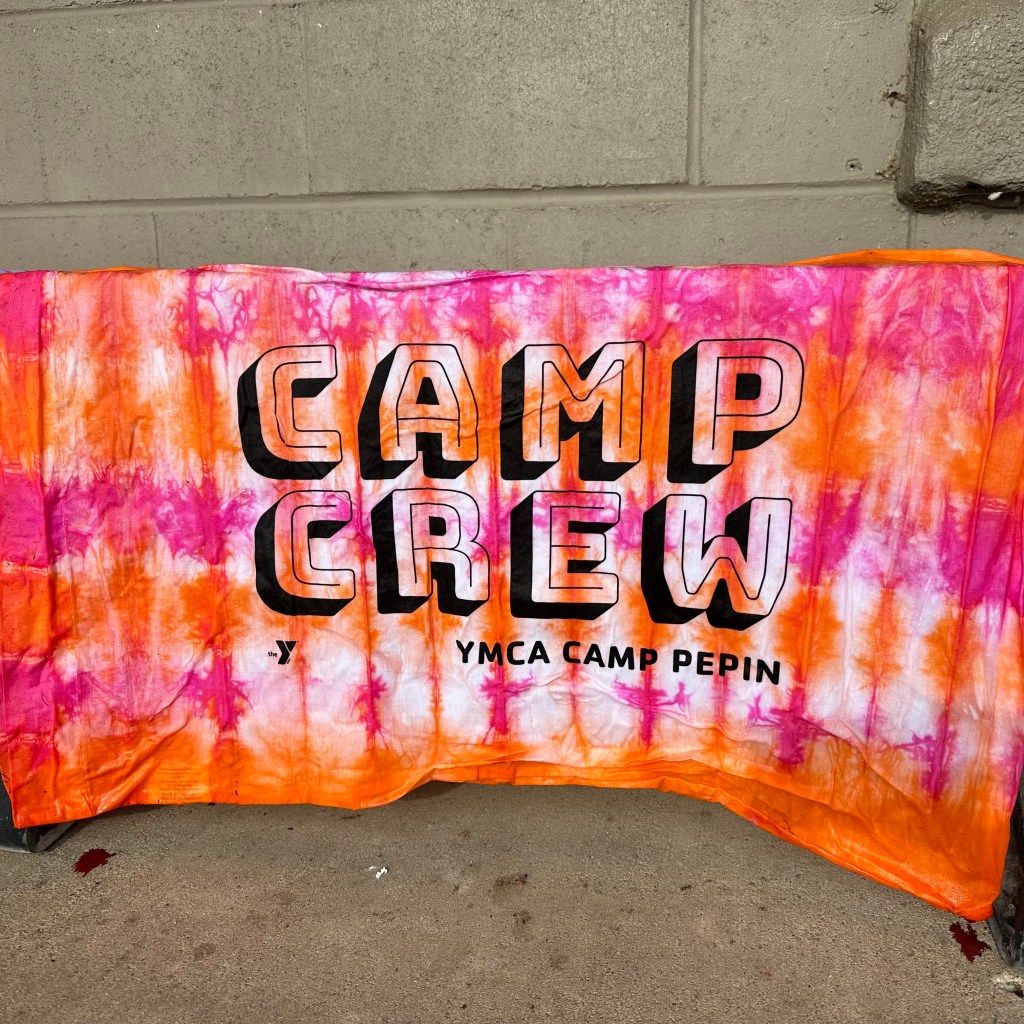
For the accordion design, you’ll make folds on alternating sides of your pillow (bandana, etc) until the entire thing is folded up like an accordion. Remember to alternate and not just fold on one side, turning the item over for each fold. Try to keep the folds around the same width, and the narrower they are, the more detailed your final tie dye will be. Take rubber bands and tie them around the folded-up accordion shape, spacing them evenly apart from one another. The more rubber bands you add, the more color you will be able to use.
Applying the dye
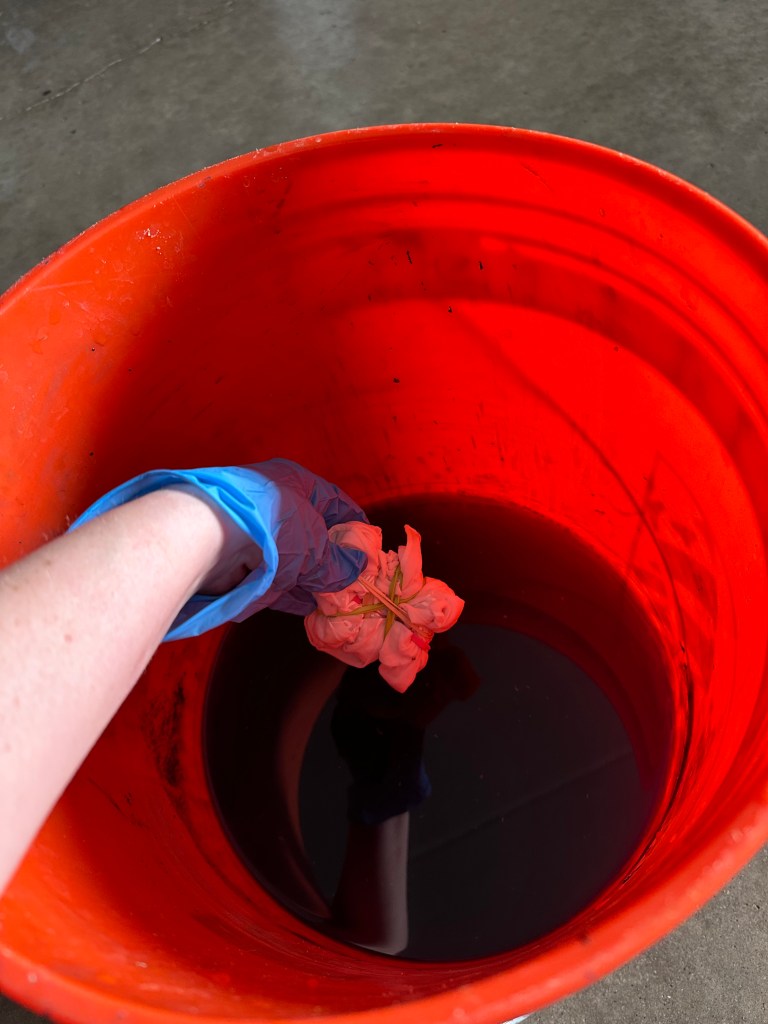
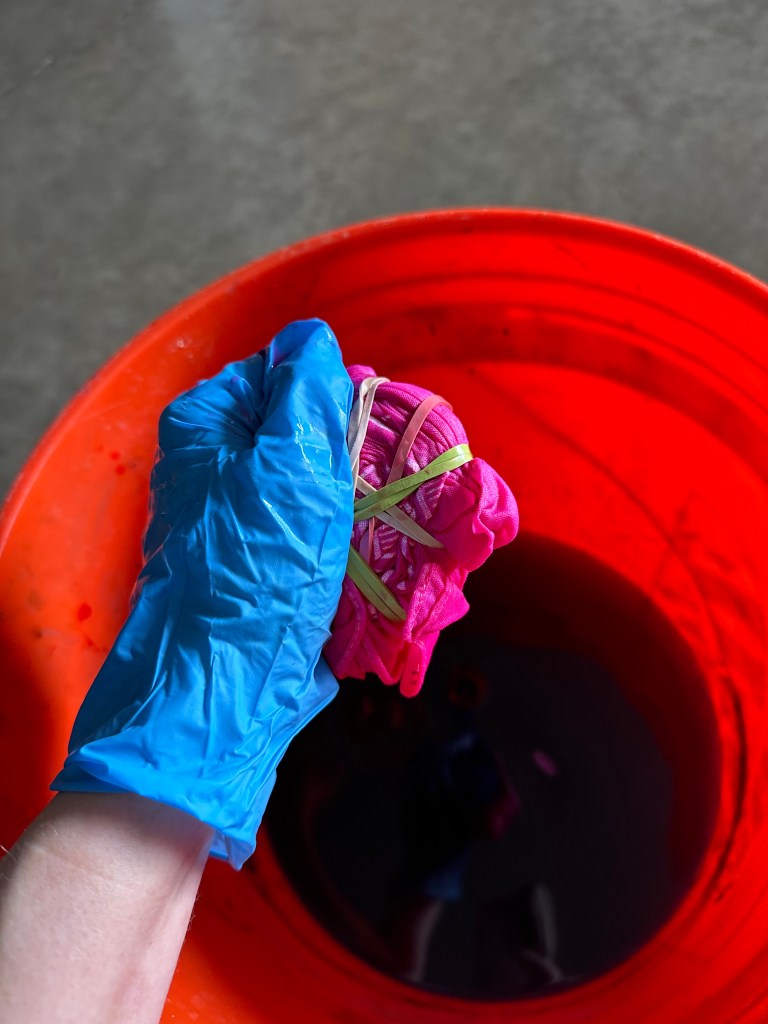
There are two ways to actually get the dye onto your item. If you only want to use one color for your design, a bucket is a great way to make sure it’s saturated. I added one teaspoon of powder dye per cup of water, but always follow the directions printed on the dye container. In my opinion it’s better to use the maximum amount of powder dye recommended because that will make the color the most concentrated. Stir the water and powder together in the bucket and you’re ready to dye! Since you’re only doing one color, just go right ahead and dunk your folded bandana right into the dye mixture. PLEASE put gloves on first or your hands WILL be stained for at least a day! The bandana doesn’t need to soak for any length of time, but I dipped mine a couple of times to make sure the pink color would be nice and bright. Wring out your item OVER the bucket to squeeze out any excess dye, and then you can take off the rubber bands.
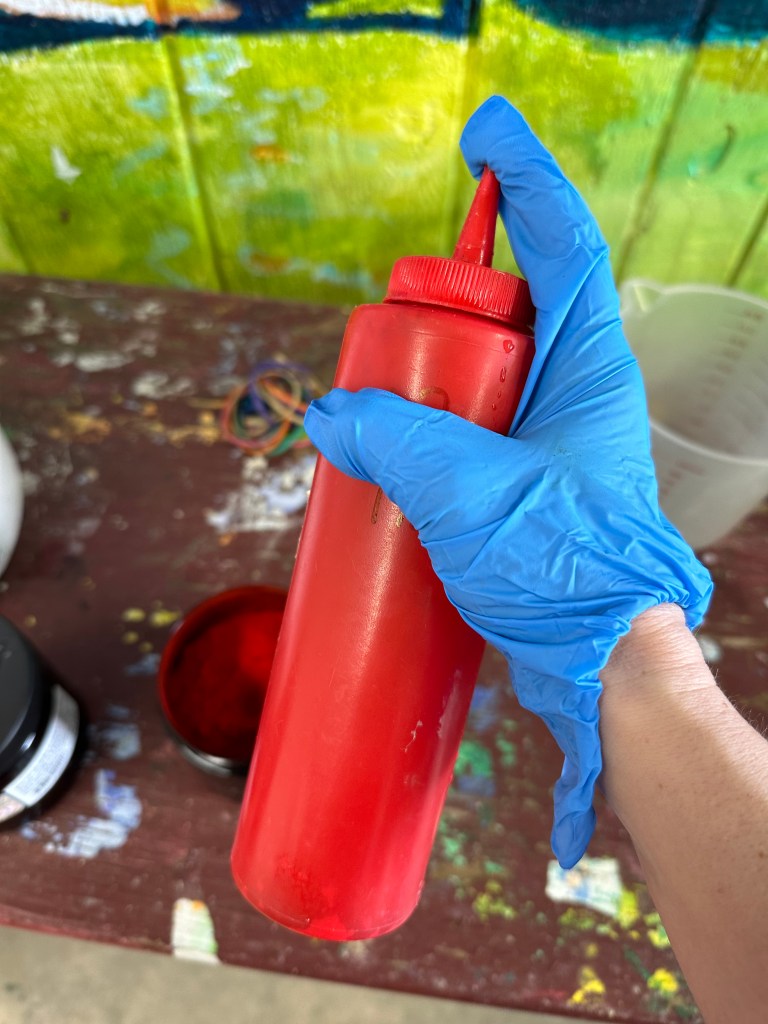
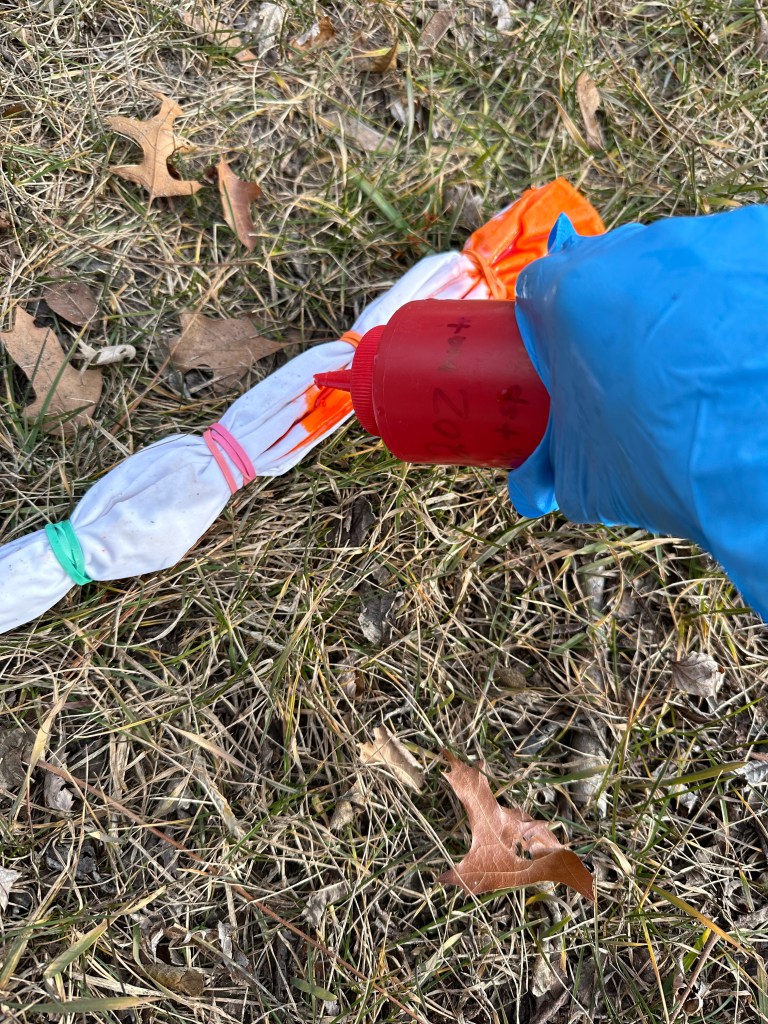
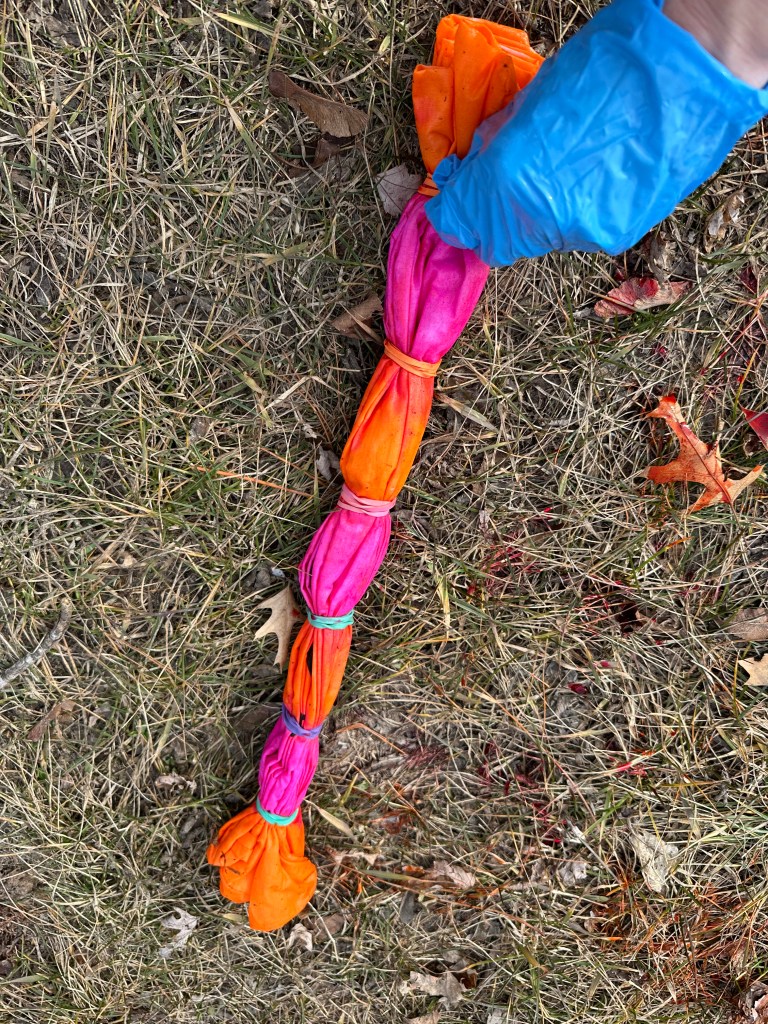
If you want to use more than one color, it’s a bit easier to tie dye using a squeeze bottle – this allows for more precise application of the dye and prevents overlapping of color. Use the recommended ratio of powder:water, put the top on the bottle, cover the tip with your thumb, and shake to mix. Then, lay your folded pillowcase somewhere where it’s okay to drip dye. When it’s warm out, the grass is fine because the dye is non-toxic; but if it’s cold out and you’re crafting inside, I’ve found that using one of those tin food trays is a great way to keep everything contained (plus you can rinse it out and use it again). Squeeze the dye out of the bottle onto the sections of your pillowcase, alternating colors so that you get good definition. Squeeze the excess dye out and take off the rubber bands.
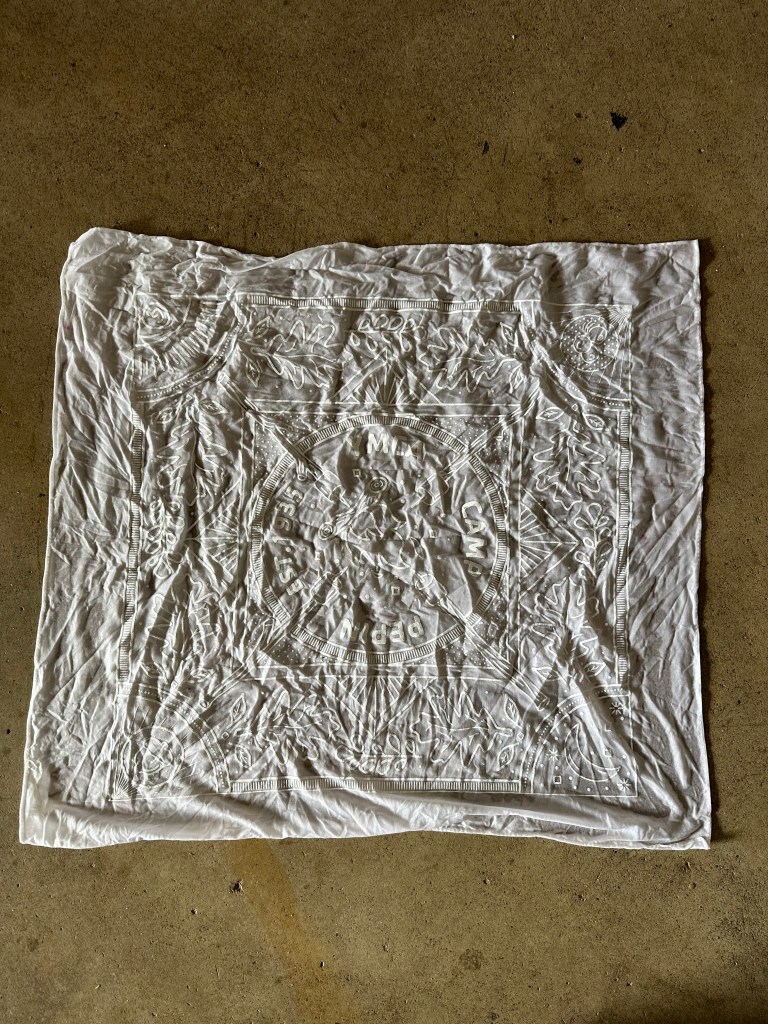
Check out your creation!
Unfold/unfurl your item and see what you’ve made! Hang it up to dry or lay it flat on a tarp/outside. Wait until the item is fully dried, then wash it BY ITSELF either in a washing machine or by hand. Then let it dry again (a dryer is just fine for this) and your tie dye is ready to wear/use!


Leave a comment